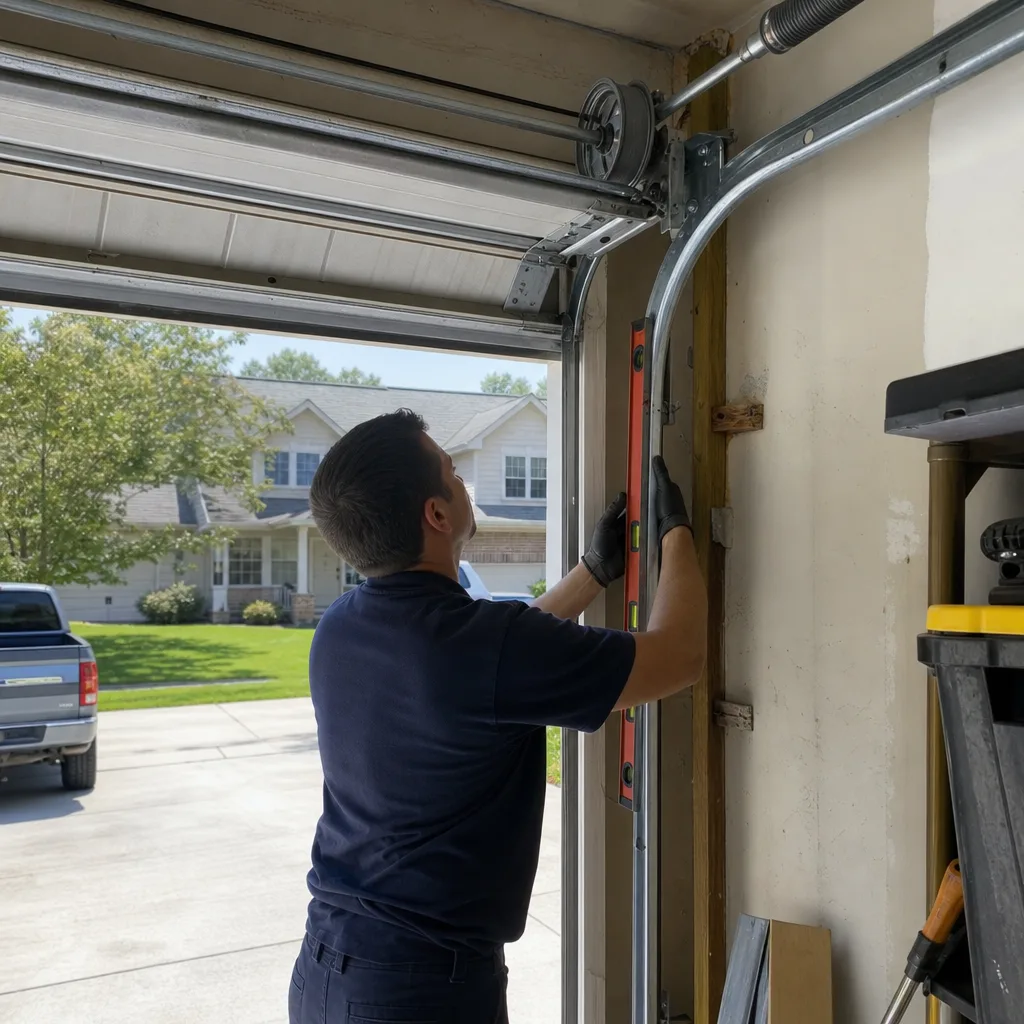
Last updated November 22, 2026
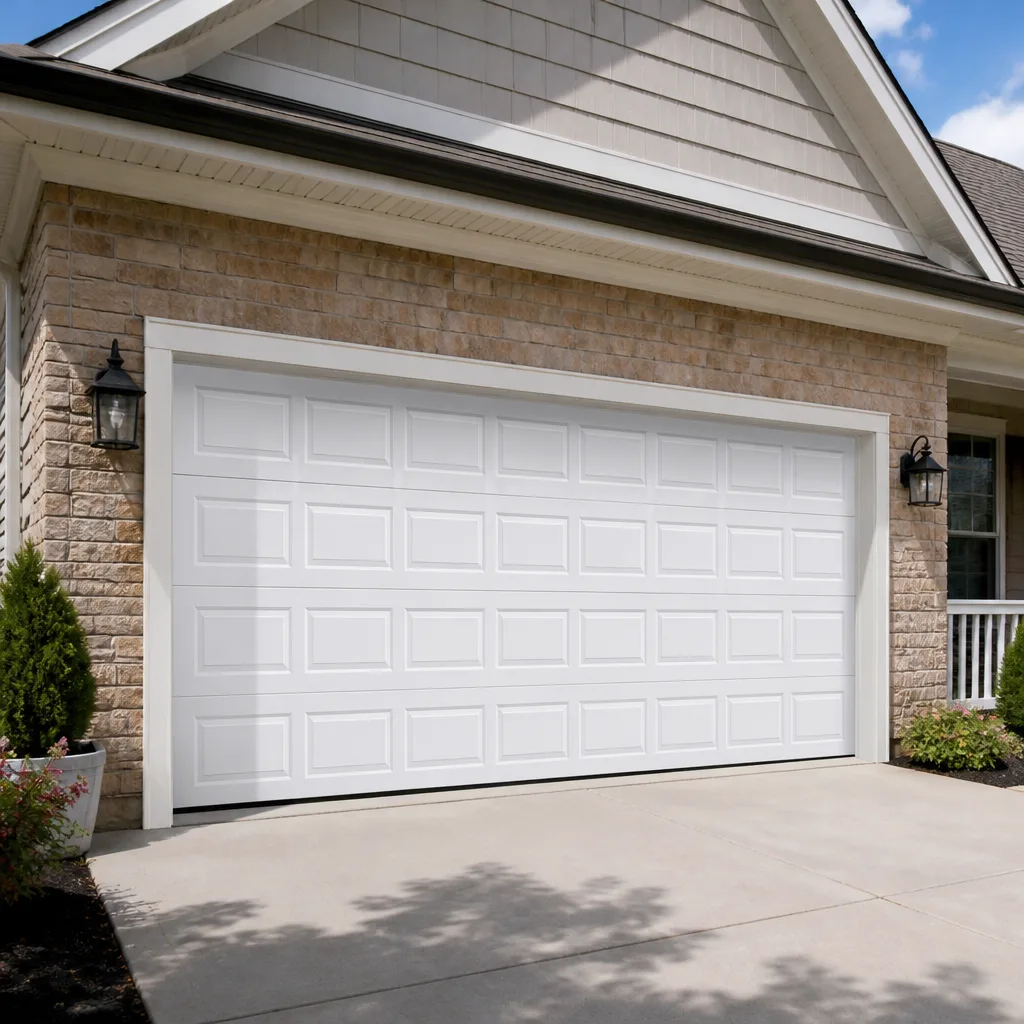 Raised-panel steel
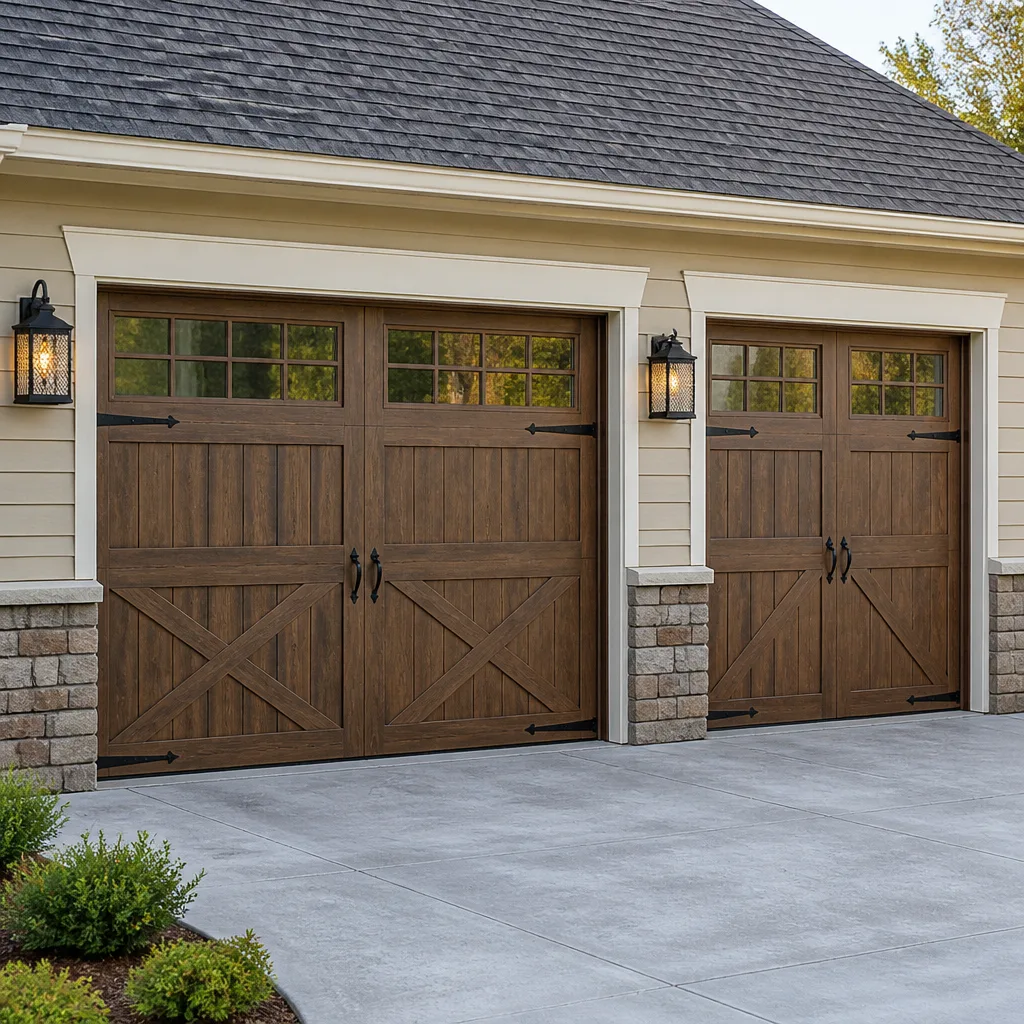 Carriage house
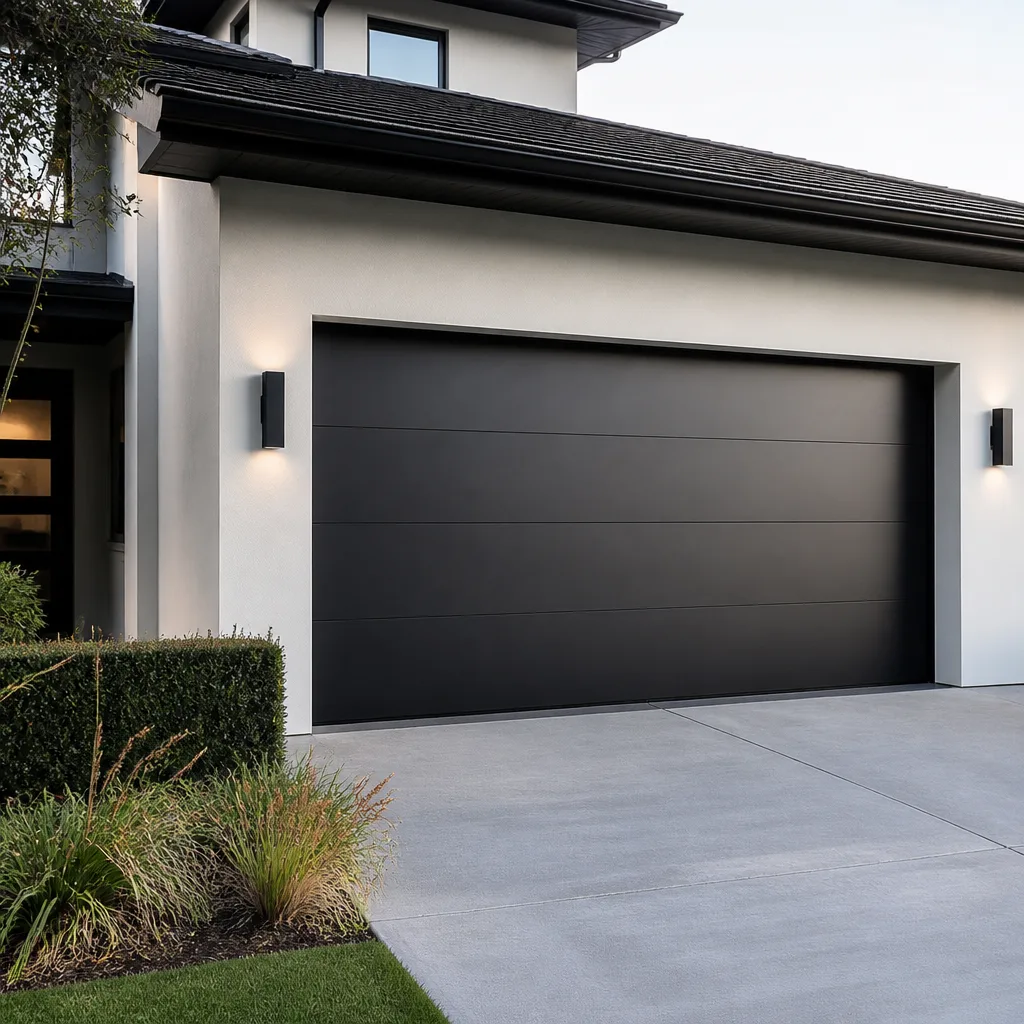 Modern flush
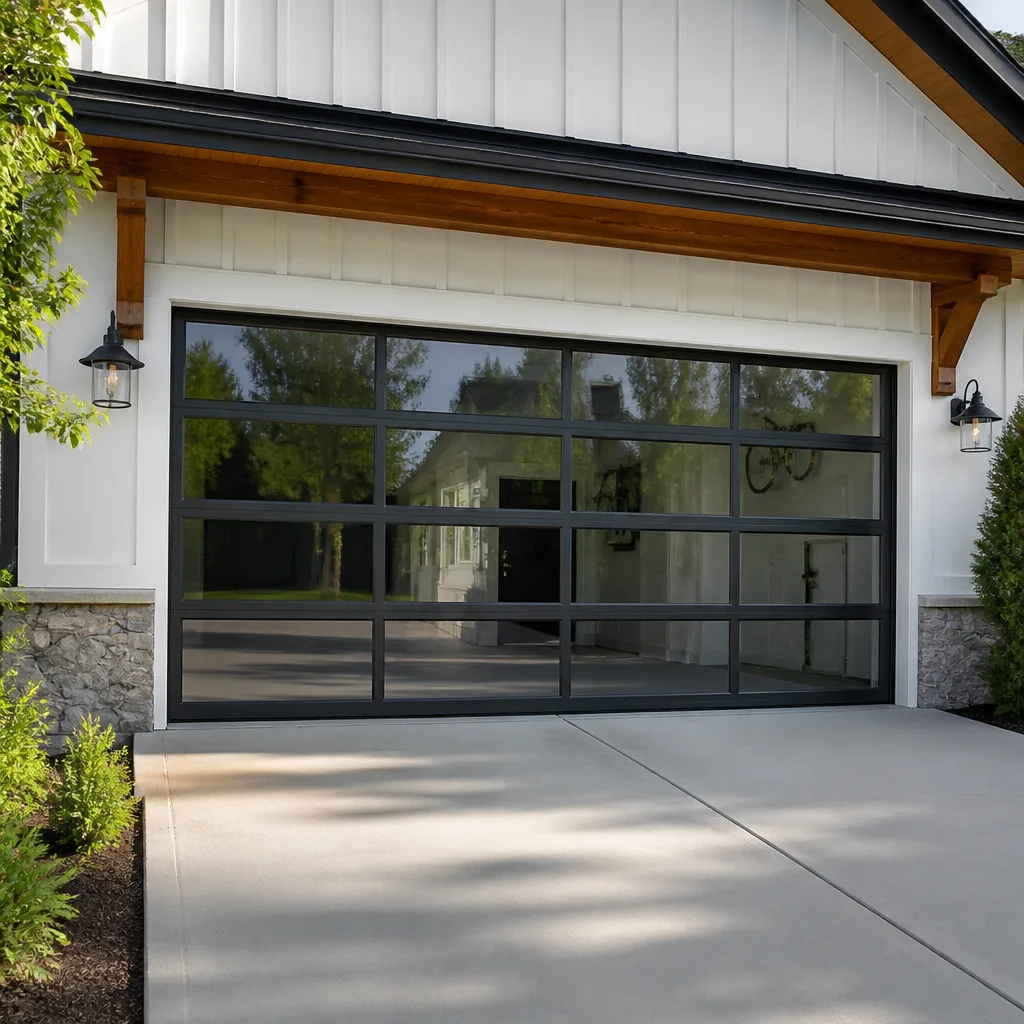 Full-view glass
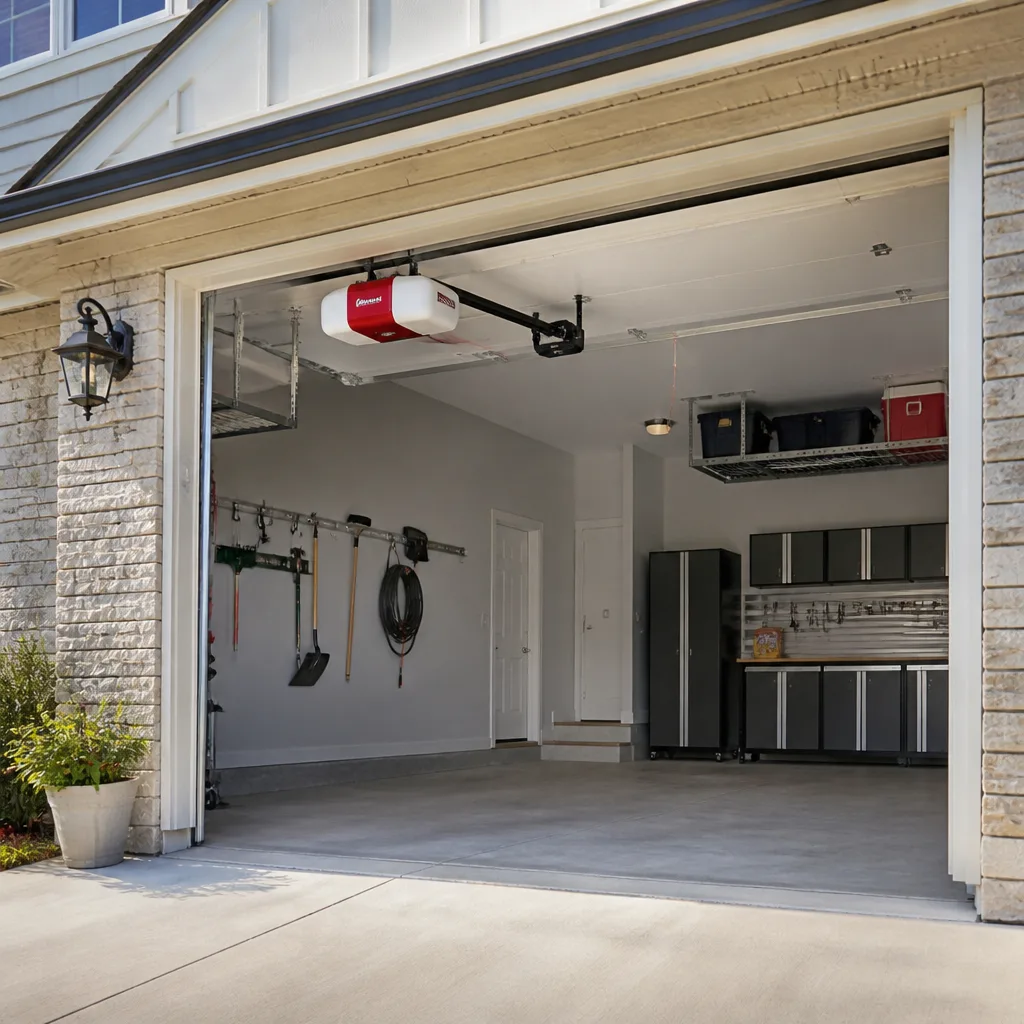 LiftMaster openers
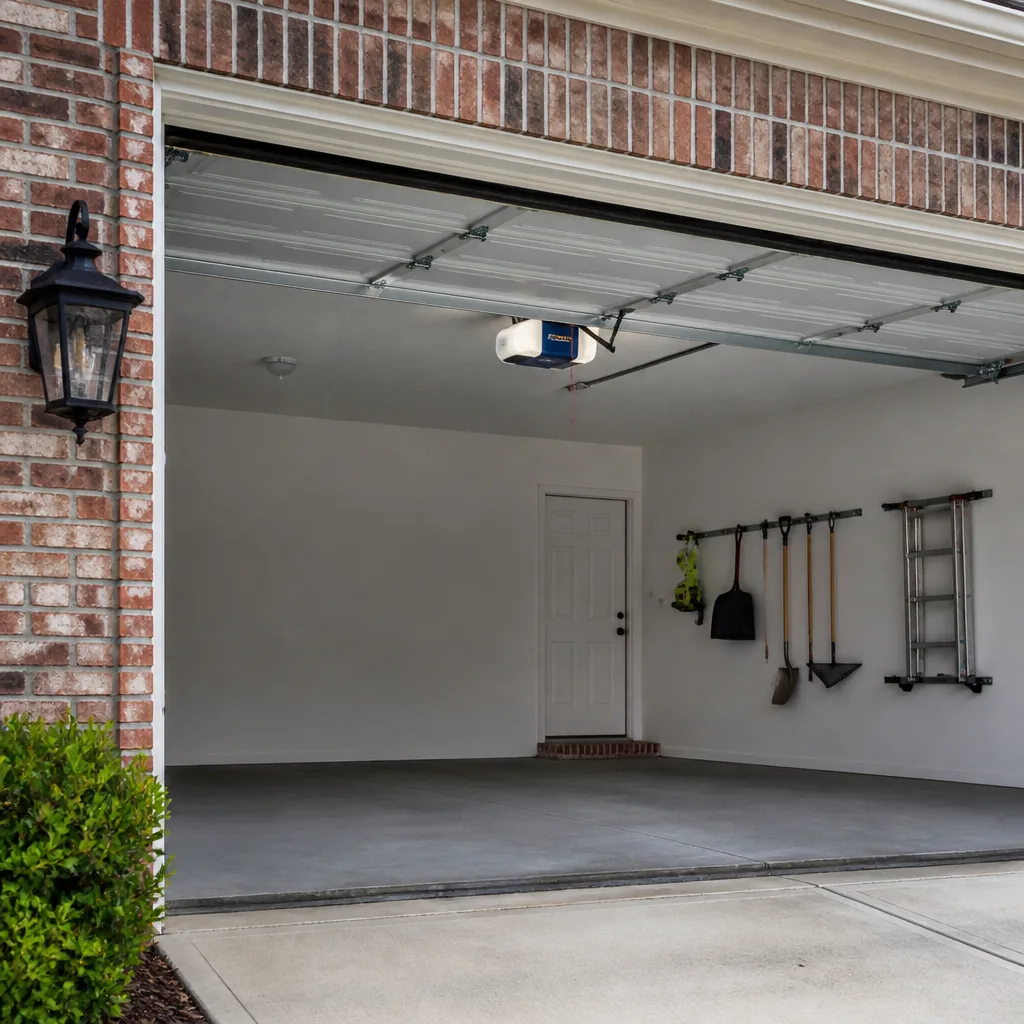 Chamberlain openers
Full 25-point door and opener safety check with every visit - springs, cables, rollers, tracks, and your LiftMaster or Chamberlain opener included
You get a price before we start. It does not change when the pro arrives.
Get your free estimateGarage Door Repair Maintenance Checklist for Bayside Homeowners
The number-one repair call we get isn’t a broken spring or a dead opener – it’s a door that was one missed lubrication cycle away from a stripped gear or a snapped cable that the homeowner never saw coming. Most checklists hand you a flat ten-point list and call it a day. This one is sequenced the way a technician actually walks through a door, because order matters more than the list itself. Checking the springs first tells you whether the cables are under dangerous load. Checking the cables before the tracks tells you whether a bent rail is a symptom or the cause. Get the sequence right and you catch the failures that cause most Bayside service calls before a small wear item turns into a snapped cable or a gear stripped smooth. Here’s the full walkthrough, from the first look up to the last lubrication point.
Quick Answer
A garage door maintenance checklist works best in a fixed order: check the springs, then the cables, then the tracks, then the rollers and hinges, then the balance and force tests, and lubricate last. In Bayside, home inspection differs from a dry inland climate mainly at the bottom of the door, where humidity-driven rust forms on hinges, the bottom seal rots, and weatherstripping stiffens faster than most homeowners expect. Run the full sequence about twice a year, adjusted by season rather than by a single calendar date, and most door failures get caught while they’re still cheap to fix.
Styles & brands we work with
- Raised-panel steel
- Carriage house
- Modern flush
- Full-view glass
- LiftMaster openers
- Chamberlain openers
Table of Contents
- Why the Order of Your Inspection Matters
- Step 1 and 2: Springs, Then Cables
- Step 3: Tracks, Rollers, and Hinges
- Step 4: The Balance Test and Force Test
- Step 5: Lubrication – What to Use and What to Leave Alone
- Bayside Moisture Checkpoints: Seals, Hinges, Weatherstripping
- Seasonal Maintenance Intervals for Coastal Virginia
- Opener and Safety Reverse Checks
Why the Order of Your Inspection Matters
A garage door is a tensioned system, not a collection of parts. Every component you look at changes how you read the one behind it. That’s why a checklist that treats “springs, cables, tracks, opener” as interchangeable items can lead you to the wrong conclusion. If you check the tracks before the springs, a slightly bowed vertical track on one side can look like the problem when it’s actually a symptom of a spring that’s lost tension and is dragging the door off balance. If you test the opener before you test the door balance, a straining motor looks like an electrical fault when the real issue is mechanical resistance.
Technicians work in a fixed sequence because it reveals cause, not just condition. Checks run top-down along the load path: the springs carry the door’s weight, the cables hold the springs’ force in check, the tracks guide the door as it travels, and the opener only follows the door. When the door travels freely, the opener works easily. When it doesn’t, the opener works hard – and that’s when gears strip, capacitors fail, and LiftMaster or Chamberlain units that should last a decade start failing in half that.
The sequence also matters for safety. Springs and cables are stored energy, and you want to assess them before you touch anything around them. The list below follows that order. If you take nothing else from this guide, take the sequence.
Step 1 and 2: Springs, Then Cables
Start at the springs and stay observant, not hands-on. Torsion springs sit on a bar above the door; extension springs run alongside the horizontal tracks. Either type is under heavy tension. Look for visible gaps in the coil, a spring that’s stretched longer than its mate, or powdery rust on the winding cones. If the door won’t lift by hand at all or lifts with a grunt and won’t stay up, the springs have likely lost tension. Do not try to wind, adjust, or replace them yourself. A wound torsion spring stores enough force to break bones, and the winding bars required to work on it safely aren’t household tools. That’s a job for a trained technician, and we treat spring repair as one of the few truly dangerous calls in garage door work.
Once you’ve assessed the springs from a safe distance, move to the cables. Cables are thin steel ropes that should be neatly wound and taut. Watch for frayed strands (the cable looks furry near the drum), kinks, or slack on one side. A cable that’s off its drum is a warning, not a routine wear item. If it’s already popped loose or looks badly frayed, stop the inspection and call for service. Broken springs and snapped cables almost always go together and always come from a door that was overloaded by a failing spring the homeowner didn’t notice.
If you see the classic signs – a bang from the garage, a door that won’t lift, a visible gap in a coil – that’s when the door stops being usable. We offer emergency service for exactly those moments, because a door that won’t close leaves a house open. A LiftMaster or Raynor door that suddenly won’t travel is worth a call before someone tries to force it.
Step 3: Tracks, Rollers, and Hinges
With springs and cables assessed and safe, you can now examine how the door runs. Check the tracks for dents, bends, or a gap between the vertical rail and the horizontal rail at the curved transition point. Track alignment is critical, and only a properly aligned track lets the door roll smoothly. Look at the rollers next: nylon or steel rollers on the edges of the door panels should sit snugly in the track, and none should wobble or look flattened. Rollers that have lost their round are the quiet cause of a door that runs rough.
Then move to the hinges and the panel joints. Hinges at the bottom of the door wear fastest, especially in a humid climate, and a hinge with rust in the knuckle is one that will seize before it fails. Check that all the hinge screws are present and snug; a missing screw is the cheapest fix on this whole list and one of the most commonly overlooked. A loose hinge lets the door panels shift, which strains the whole assembly and can eventually crack a panel.
Use this step to convert observation into a numbered action list:
- Look along the full length of each track for bends, especially at the curve.
- Spin each roller by hand and note any that wobble, bind, or look flattened.
- Check each hinge knuckle for rust, then confirm every screw is in and tight.
- Confirm the door panels are aligned and no gaps have opened between them.
- Look at the bottom of the door for a seal that’s come loose from the bracket.
None of these are emergency items. All of them are the small problems that compound into a major repair over a season if left alone, and catching them here is what keeps a routine task to a routine task.
Step 4: The Balance Test and Force Test
These are the two checks most homeowners skip, and they’re the two that tell you whether the door is safe to use. Both need the door disconnected from the opener, and both are doable with a standard 2×4 and a little care.
The balance test: pull the emergency release cord to disconnect the opener, then lift the door by hand to about waist height and let it go. A properly balanced door stays where you put it, or moves only slightly and settles. A door that drops is out of balance – usually a spring that’s lost tension. A door that shoots back up is over-tensioned. Either way, it’s telling you the mechanical side needs a technician.
The force-resistance test: With the door connected and the opener running, lay a 2×4 flat on the ground in the middle of the door’s path and close the door. The door should reverse immediately on contact. If it keeps pressing down on the board, the opener’s force setting is too high, and that’s a safety adjustment. The same test works in reverse: hold the board under the closing path and let the safety sensors trip. On virtually every modern opener – LiftMaster, Chamberlain, Genie, and the rest – the door should stop and reverse. A door that doesn’t reverse on a 2×4 has a safety system problem, and that’s a call-now item, not a keep-going item.
Both of these tests tell the difference between “the opener is broken” and “the door is fighting the opener.” Running the force test before you blame the opener is what keeps you from replacing parts that aren’t the problem.
Step 5: Lubrication – What to Use and What to Leave Alone
Lubrication is where DIY mistakes do the most long-term damage. The right product on the right surface extends life; the wrong product on the wrong surface accelerates wear. Use a white lithium grease or a garage-door-specific silicone spray on the hinges, the roller stems, and the track (a light spray along the inside, not a coating). On torsion springs, a light film of grease on the coil is fine and actually helps with rust; on extension springs, leave them mostly alone but check them visually at the same time.
The surfaces to never lubricate:
- The track where the rollers run on the door side. Greasing the door-side track collects grit and paste, and that paste grinds rollers down.
- Rollers themselves if they’re nylon. Lithium on nylon attracts dust and makes the roller bind. Steel rollers can take a light film at the stem, not the surface.
- The spring coils on a Raynor or Clopay door if they’re already oiled by the factory; extra grease just attracts debris.
- The opener rail on a belt-drive Genie or Chamberlain unit where the factory specified a dry rail. Grease on a dry rail makes noise worse.
Lube a little and often. A light pass every few months beats one heavy coat once a year. And wipe up drips; excess grease drips onto the door panels and marks the paint. If you’re not sure what a specific door or opener wants, ask – the wrong lubricant is what turns a stripped gear into a real repair bill.
Bayside Moisture Checkpoints: Seals, Hinges, Weatherstripping
Bayside’s humidity is what separates a local checklist from a generic one. The drivers here are not salt air (that’s not a factor we plan around) but plain summer humidity, spring rain, and the fact that a garage sits at ground level with a wide opening. Moisture wicks into the doors’ lowest parts first. That’s why the bottom of the door deserves more attention in Bayside than the top.
Three checkpoints to prioritize:
- The bottom seal. This rubber or vinyl strip sits on the ground and takes the brunt of any standing water. It should be pliable and compressing evenly across the width of the door. If it’s cracking, stiffening, or separating from the bracket, water gets under the door, not just against it. In a humid Bayside summer, a stiff seal is also a gap that lets insects and air in.
- Hinge rust. The hinge knuckles at the bottom panel rust first because they’re closest to the ground and the humidity. A rusted hinge that’s still working is a maintenance item; one that’s seized is a repair. Look at each knuckle, not the plate.
- The weatherstripping along the sides and top. This is the strip that seals the perimeter. In Bayside, it hardens and cracks faster than the bottom seal because it’s exposed to both summer heat and winter cold. When weatherstripping goes stiff, the door starts letting in air, water, and noise, and the door’s own travel gets noisier as a result.
The practical takeaway: budget for seal and weatherstripping replacement more often in Bayside than the general “every few years” advice you’ll find online. The best way to know whether yours need it is the pliability test – press a thumb into the rubber. If it’s tacky and compresses, it’s fine; if it’s stiff or leaves a permanent dent, it’s time. These are cheap parts, and a repair call for a ripped seal is one of the smaller service visits a technician can make. If your door has a worn-out seal and you’re weighing the cost, we’re happy to give a free estimate on the whole list at once, so you see how the pieces fit before you commit.
Seasonal Maintenance Intervals for Coastal Virginia
A fixed calendar (“check your door in spring and fall”) doesn’t fit Bayside. What changes the schedule here is the moisture and temperature swing, not the date on the wall. The door needs noticeably more attention at the start and end of the humid season, and less in the dry, cold stretch. Here’s how to think about it:
- Spring (before the humid season): Run the full checklist. This is when you check seals, weatherstripping, and hinges for winter stiffening, and when you lubricate. It’s the most important single pass of the year in Bayside.
- Summer (peak humidity): Re-check the bottom seal and hinges for rot and rust, and run the force test again. Humidity is when the small moisture-driven failures appear. A quick visual is enough; you don’t need the full sequence.
- Fall (as humidity drops): A full checklist pass, balancing before the cold, and tightening all the hardware. Hinges that were a little loose over the summer get snugged up before the door starts running stiff in cold weather.
- Winter: Watch for stiff operation. Cold rubber seals and thicker grease make the door work harder. A quick visual and a light lubrication pass along the moving parts is the whole job.
That’s roughly four light passes a year, with two of them full. It’s more than the once-a-year advice, but a Bayside door runs in a humid climate for a good chunk of the year. The extra passes cost a few minutes; a missed seal or a seized hinge costs a repair call. If your door runs all winter with a stiff seal, the strain eventually shows up in the opener, not the seal.
Opener and Safety Reverse Checks
The opener is the easiest part of the door to blame and the last part you should examine. Once the door itself checks out, the opener mental checklist is short. Listen to the motor: a LiftMaster or Chamberlain unit that hums but doesn’t move, or moves then stalls, is usually telling you the door is too heavy for it, not that the motor failed. Check the safety reverse on both boundaries (the 2×4 test above covers the ground-level trip; press the sensor beam with the door closing and confirm it reverses). Then check the light and the wall control – a dead wall button on a Genie often points to a mis-wired remote, not a dead unit.
One misconception to clear up: a strain on the opener is usually a sign the door needs a mechanical fix, and swapping the opener for a new one is replacing the symptom. A properly balanced door makes any opener, including a Raynor rail unit, last its full expected life. A door that’s out of balance will kill a new opener too. If your door passes the balance test but the opener still struggles, then the opener deserves attention, and a dedicated repair call is the right move. A spring or a cable issue is where the priority should be.
If the door and opener are the same age and the door has been neglected, a full-service door specialist can look at both at once. Not every issue is mechanical; a door that’s running fine may simply be at the end of its service life, and the cheapest option is sometimes a new installation, not another repair. We see both ends of that decision regularly in Bayside, and the answer is usually straightforward once the whole door is on the table.
Common Mistakes to Avoid
- Lubricating the door-side track. It’s the most common DIY slip. Grease on the door-side rail collects grit, binds rollers, and makes a door wear faster. Lube the hinges and the roller stems instead.
- Using WD-40 as a garage door lubricant. It’s a solvent, not a lasting lubricant. It loosens things and leaves a dry film that attracts dust. Use white lithium grease or a silicone spray meant for garage doors.
- Checking the opener before the door. If the door is out of balance, the opener is a symptom. Replacing the opener before checking the balance and force is a wasted repair, and the new opener fails the same way.
- Ignoring the bottom seal in Bayside. It’s the part that takes the most moisture here. Rotted or stiff seals let water under the door and often go unnoticed until the floor around the door is wet.
- Adjusting a torsion spring yourself. It’s the single most dangerous thing on the door. Stored energy in a wound spring can cause serious injury. This is the one item you don’t try yourself, ever.
- Testing balance with the opener connected. If you don’t pull the emergency release before the balance test, the opener’s resistance masks the imbalance. Disconnect first, test second.
- Treating the force setting as a tuning knob. Crank it up and the door “works,” but the safety system is now disabled. If the door needs more force to work, the door is the problem, not the setting.
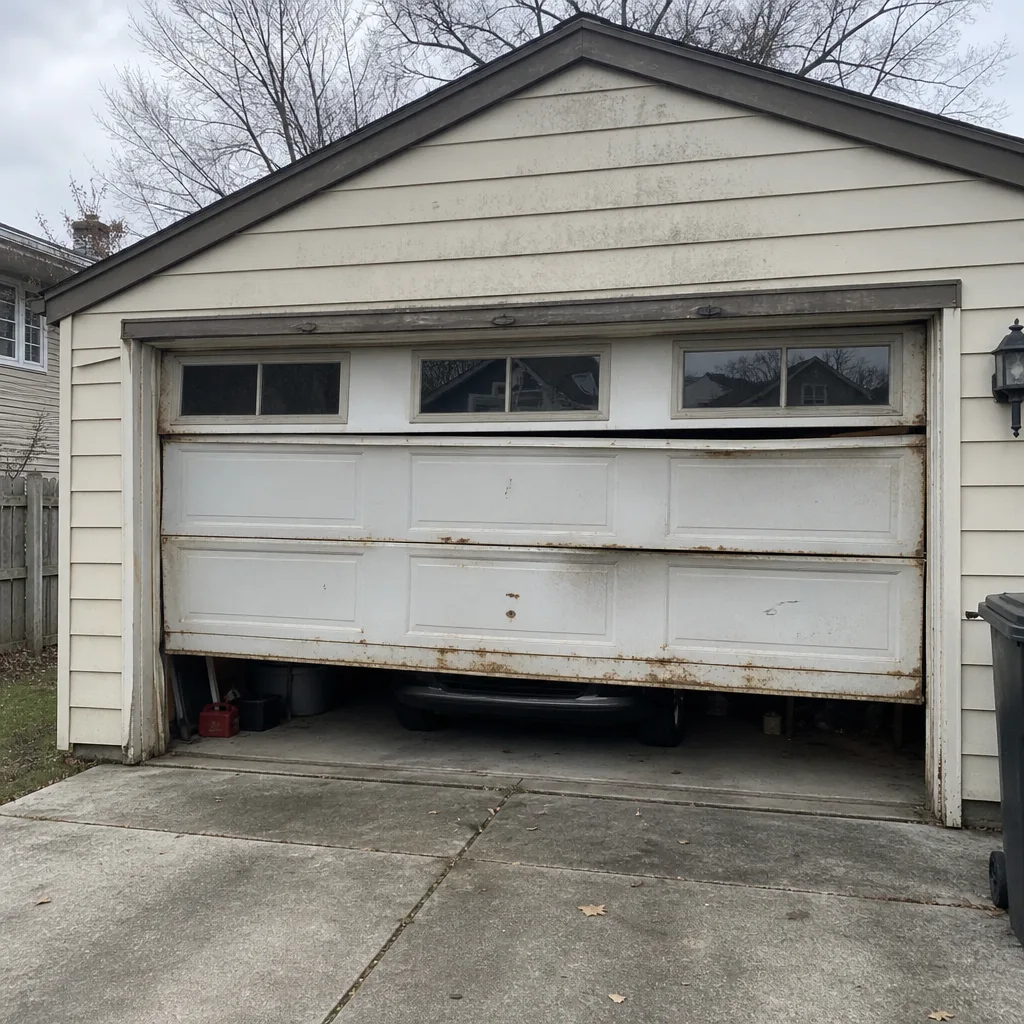
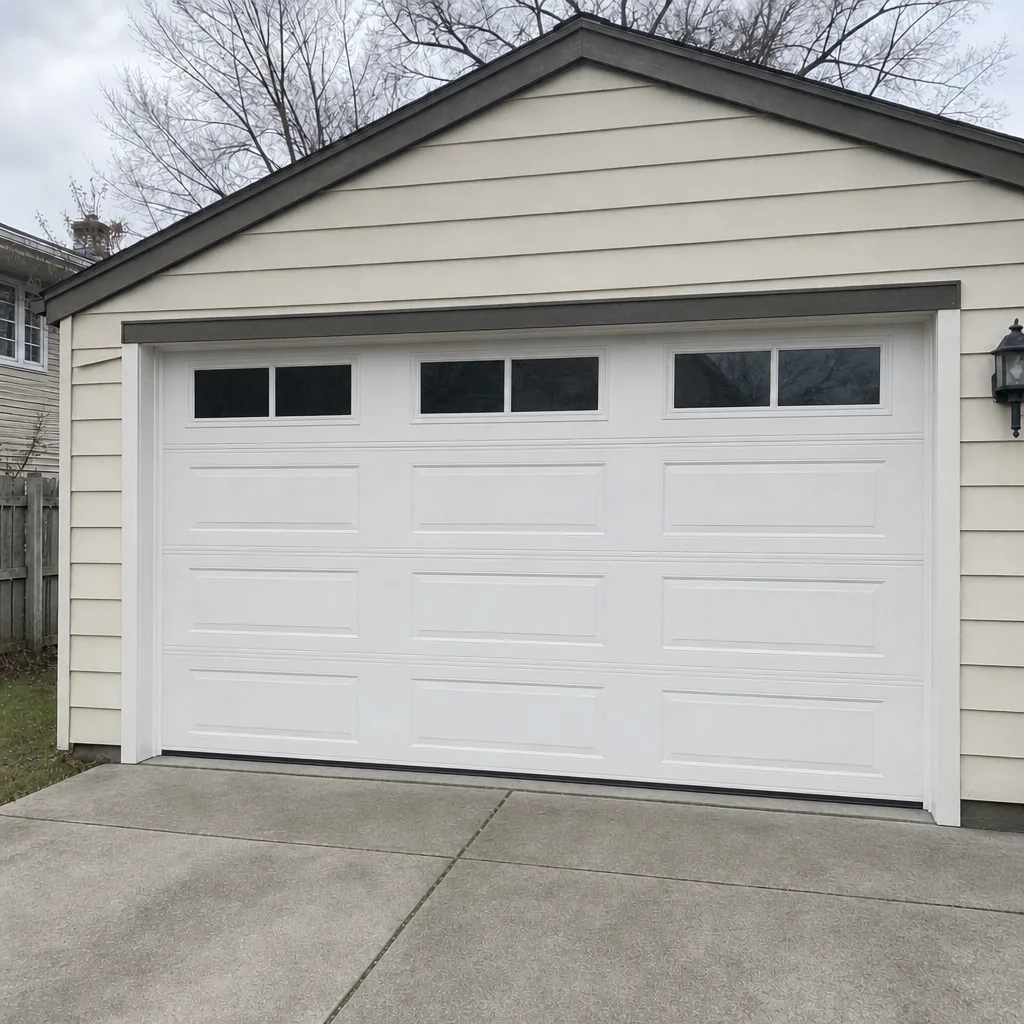
See the difference
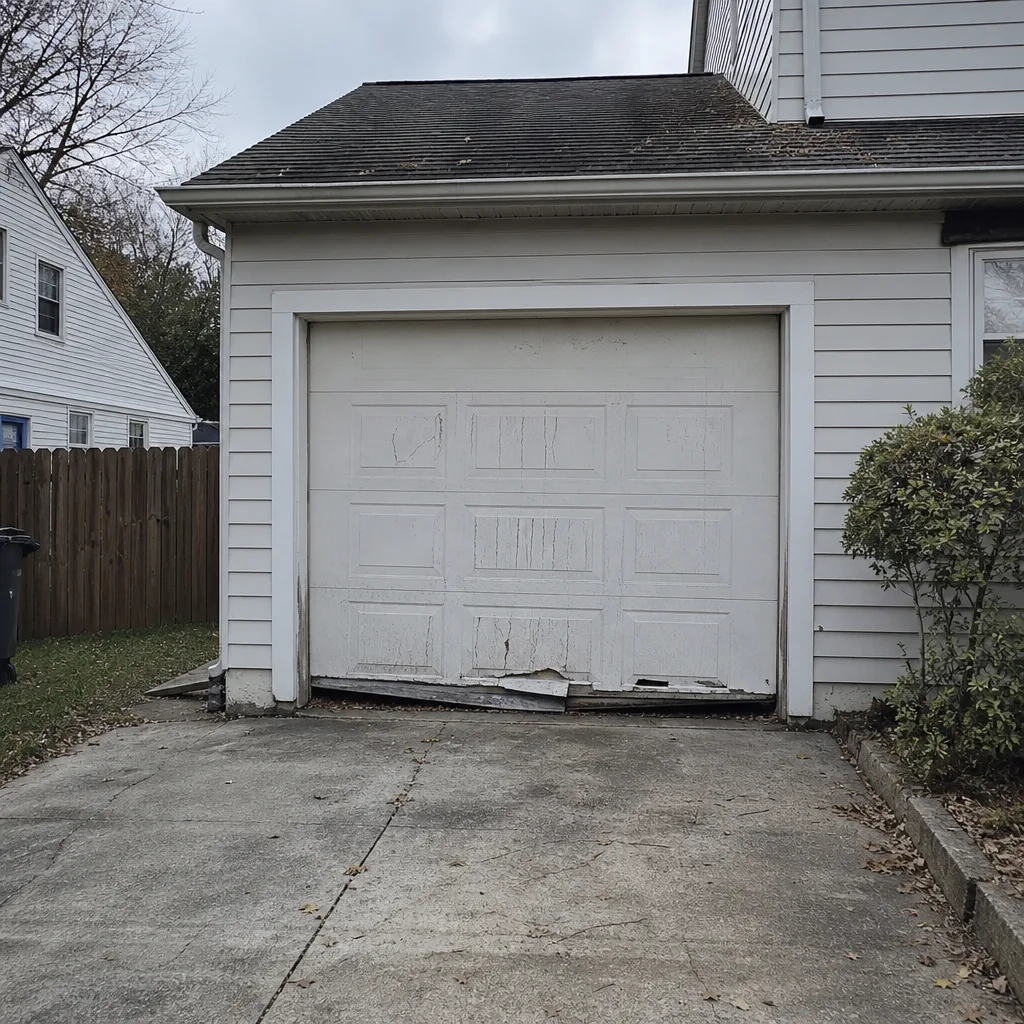 Before
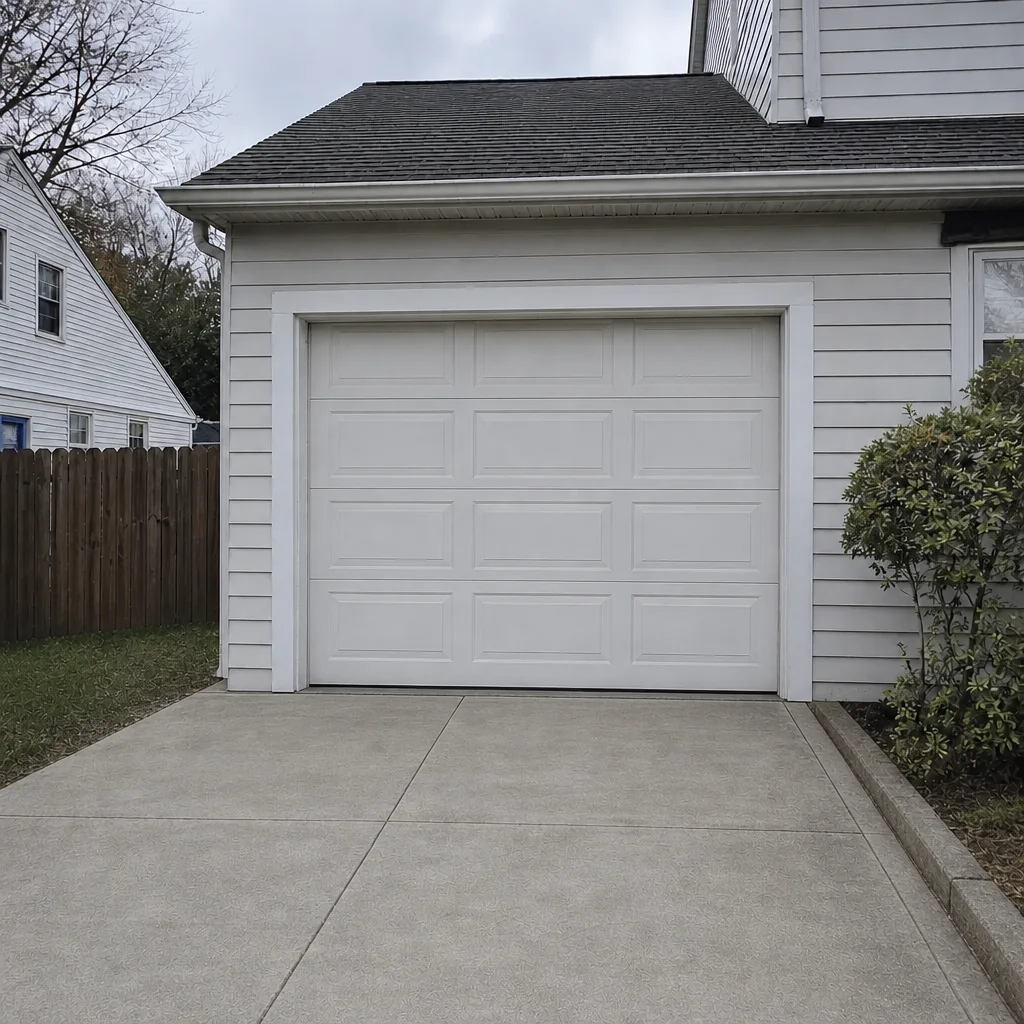 After
 Before
 After
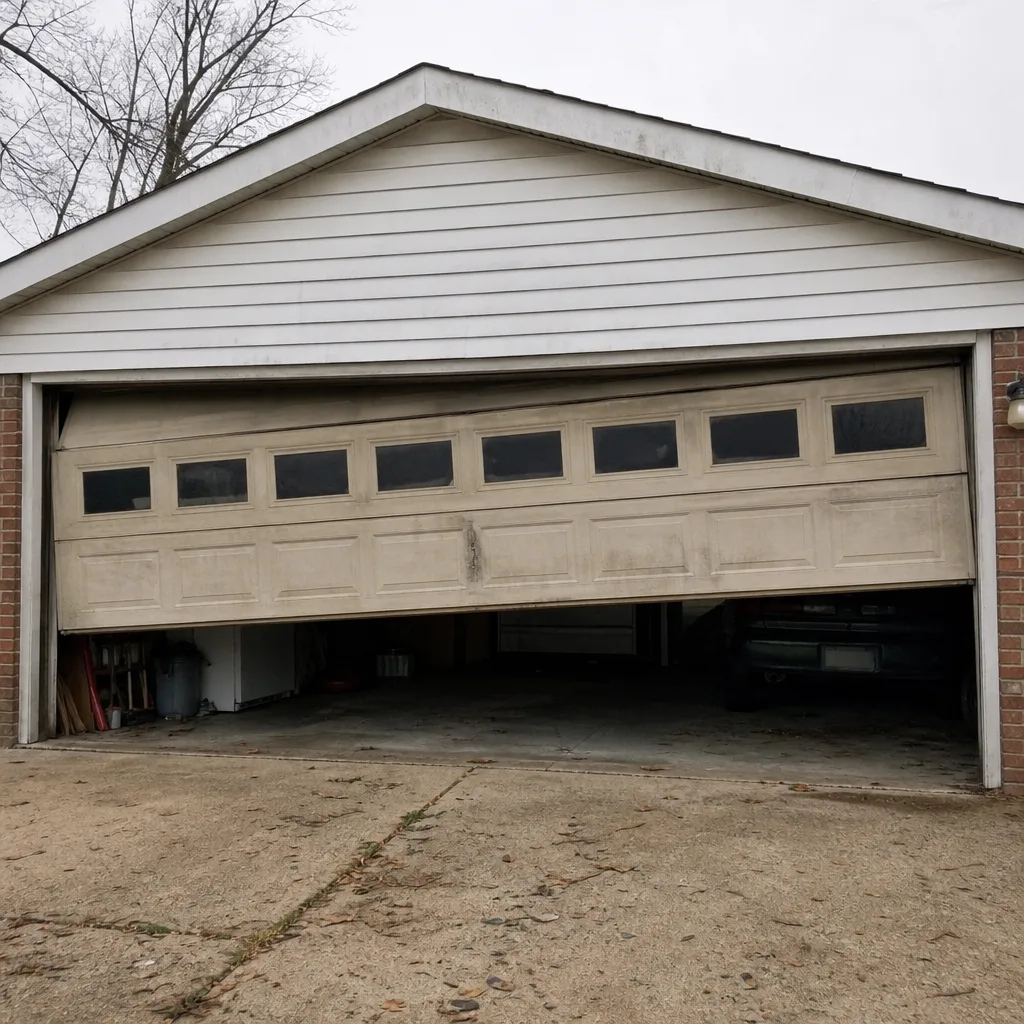 Before
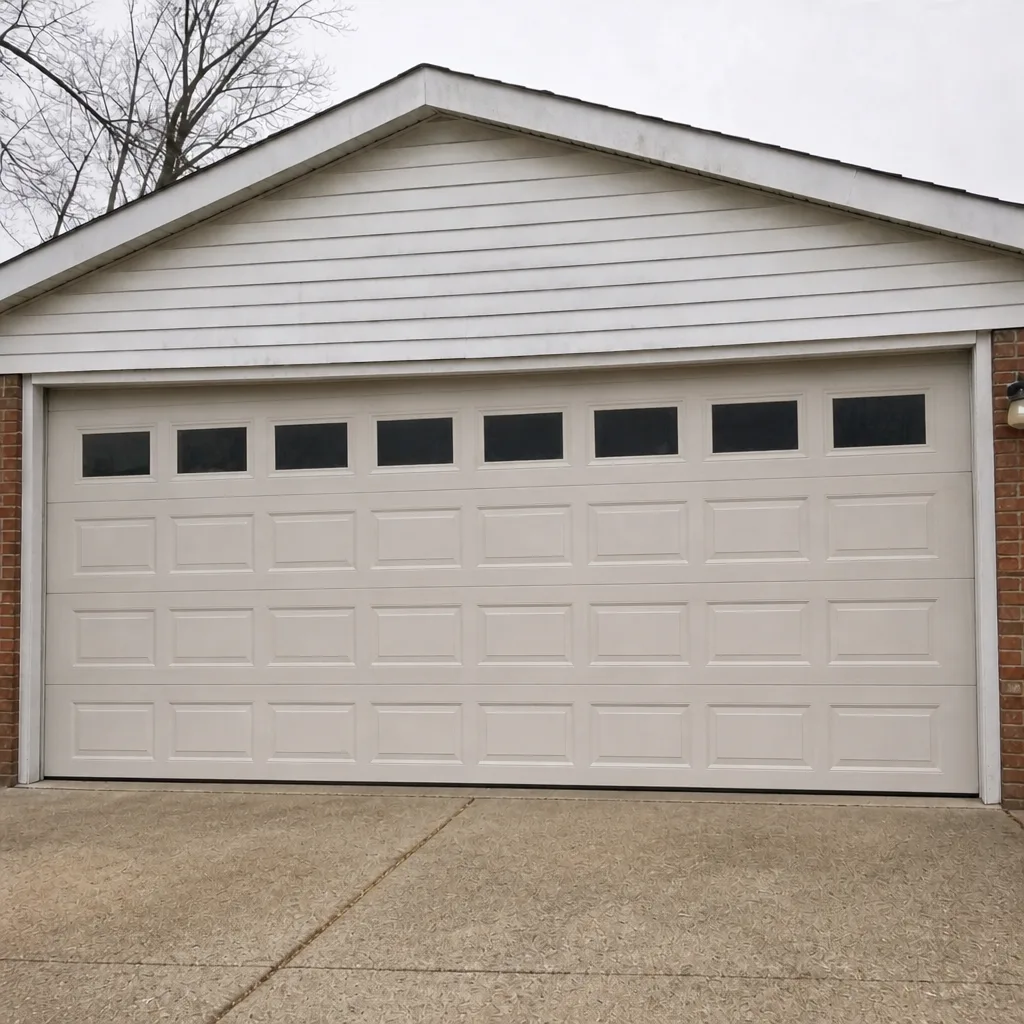 After
When to Call a Professional
Some of what’s on this checklist is homeowner territory: tightening screws, testing torque settings on a 2×4, wiping down tracks, checking seals. Some is not. Call a technician when you find a broken or visibly stretched spring, a cable that’s come off its drum or shows frayed strands, a door that fails the balance test, or a door that won’t reverse on contact with an object. Those are safety and structural items, and every one of them is cheaper fixed early. A door that’s too heavy for its opener or that drops when you lift it is a danger to anyone who uses it. If you’ve spotted any of those, stop using the door and call. Bayside Garage Door Repair Pros offers free estimates in Bayside – call (877) 757-2379. We’ll tell you what’s urgent, what can wait, and what the repair actually involves. If the door is completely down, our emergency service covers the situation where waiting until the next business day isn’t realistic.
Frequently Asked Questions
Run the full checklist twice a year – ideally before the humid season and again in spring and fall – with lighter visual checks in between. Coastal Virginia humidity means the bottom of the door needs more frequent attention than a dry climate requires. Seals and weatherstripping are the parts to check most often, roughly every season.
Yes, with the right product and on the right surfaces. Use white lithium grease or a garage-door-specific silicone spray on hinges and roller stems, and avoid the door-side track and nylon rollers. The mistake that causes the most damage is greasing the door-side rail, which collects grit and makes rollers wear faster. If you’re unsure which part to lube, ask before you start – a small call now can save a repair later.
A broken torsion spring usually shows a visible gap in a coil or sits loose on its bar; extension springs often literally snap and hang. No, you should not replace one yourself. A wound spring holds far too much stored energy for a homeowner to handle safely. This is the call where we recommend a technician without question. Our spring repair work is one of the specific jobs we’re set up for – call (877) 757-2379 if you suspect a spring.
That usually means the safety reverse is working correctly but the door is out of balance and the opener is straining. A door that reverses on a 2×4 is doing its safety job; a door that struggles to close is telling you the mechanism is heavy. Do the balance test with the opener disconnected. If the door drops, it’s a spring or tension problem and worth a professional look.
Humidity accelerates seal rot and hinge rust, and temperature swings stiffen weatherstripping faster than in a stable climate. In Bayside, the parts that fail first are the bottom seal, the hinge knuckles closest to the ground, and the perimeter weatherstripping. Budgeting for those parts more often than the generic advice suggests is a reasonable plan.
When the door is balanced and passes the force test but the opener still fails to lift it, the opener is the problem and repair or replacement is worth costing out. If the door is out of balance, the opener is likely a symptom and replacing it wastes money. A single service call can distinguish the two. Call (877) 757-2379 and we’ll tell you which side of the call you’re on.
The Bottom Line
A garage door maintenance checklist is only as good as its order. Springs first, then cables, then tracks and moving parts, then the balance and force tests, and lubrication last. That sequence catches cause before symptom, which is why it’s how a technician would actually walk through your door. The Bayside adjustments are about moisture: watch the bottom seal, hinge rust, and weatherstripping more closely than a generic calendar suggests. Run the full pass twice a year and you’ll catch most failures while they’re still a screw or a seal, not a snapped cable. When you hit something on the list that’s beyond safe DIY – a spring, a cable, a failed balance – call us. One call at (877) 757-2379 gets you a free estimate and a specialist who understands how these doors work.
Written by the team at Bayside Garage Door Repair Pros.