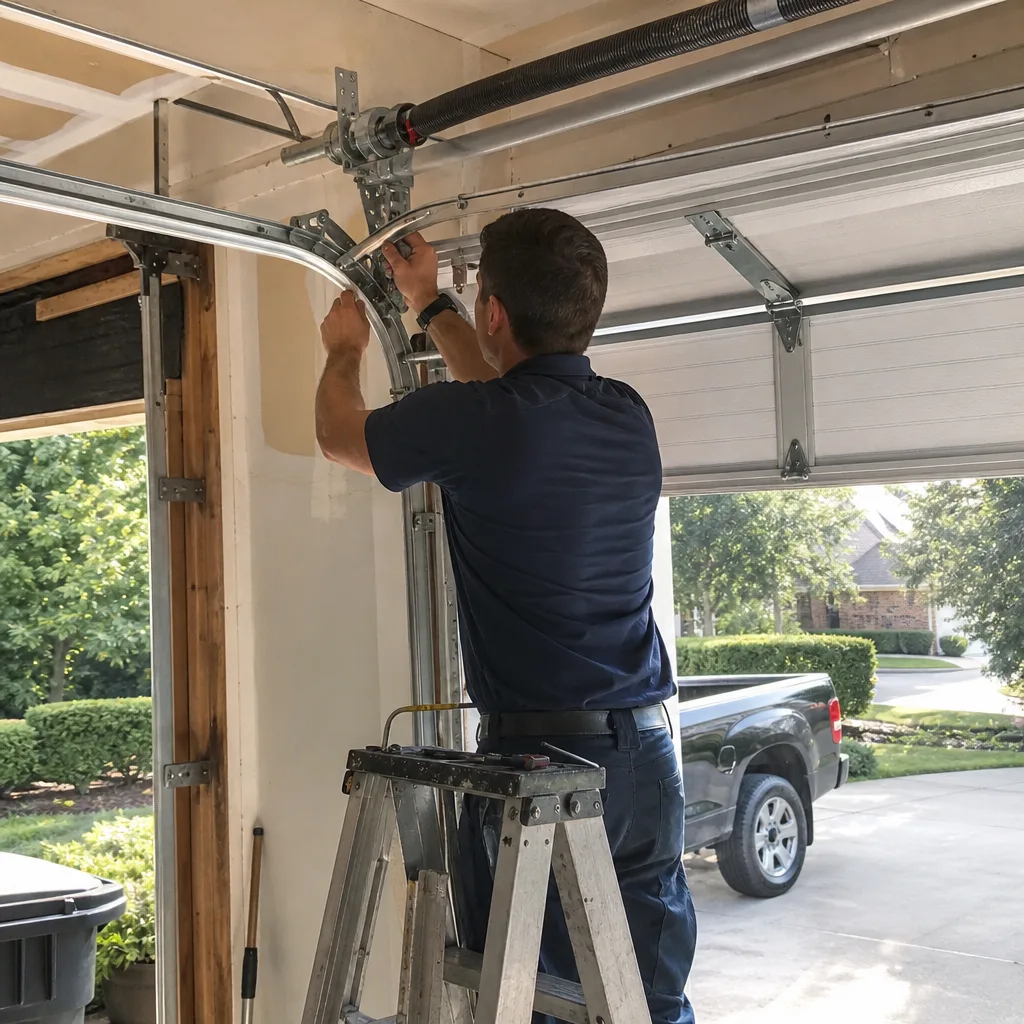
Last updated November 22, 2026
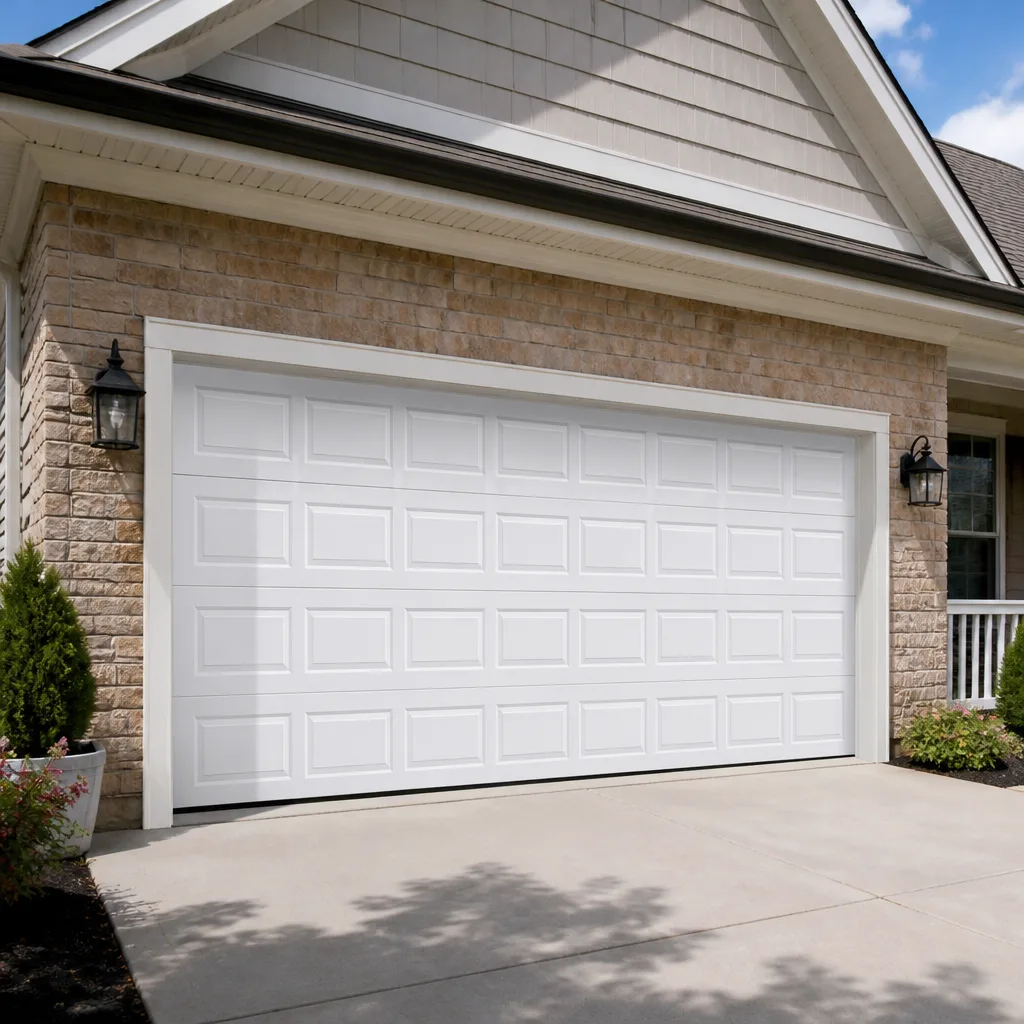 Raised-panel steel
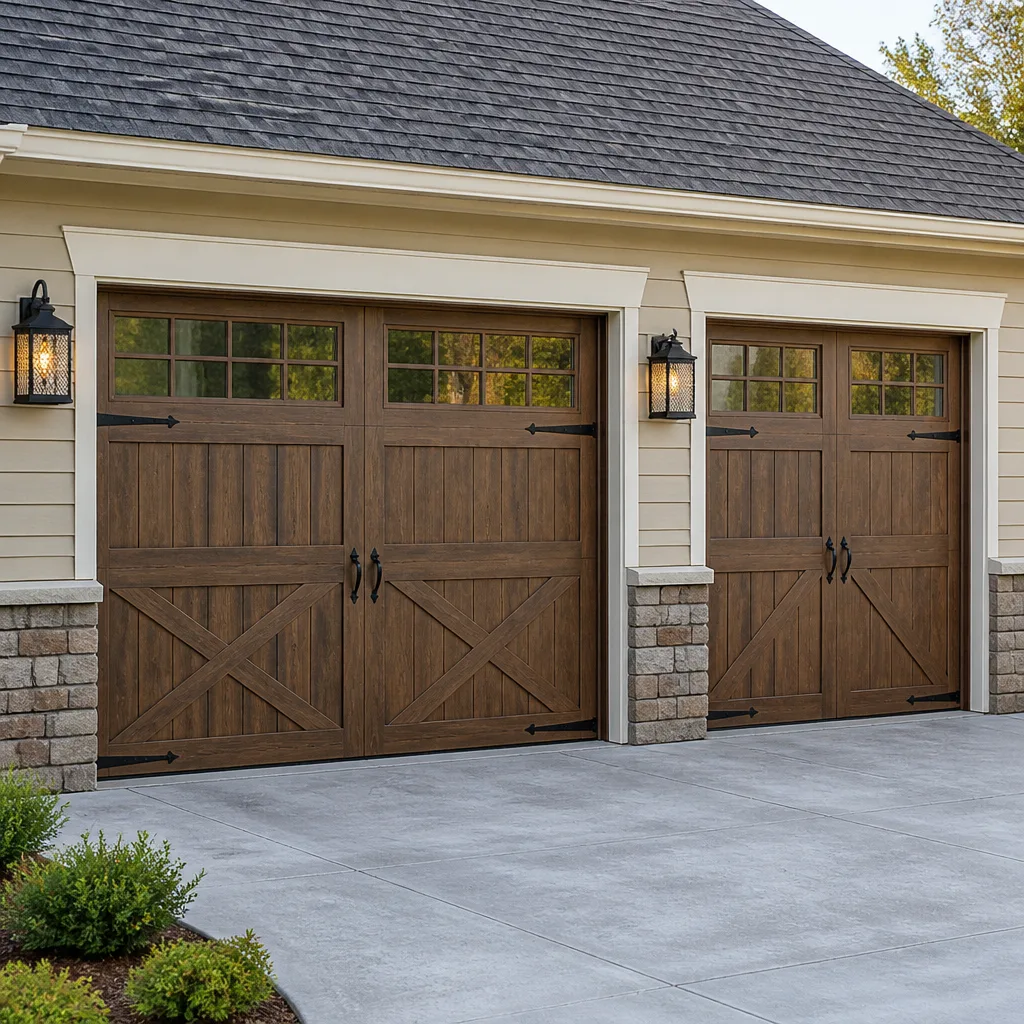 Carriage house
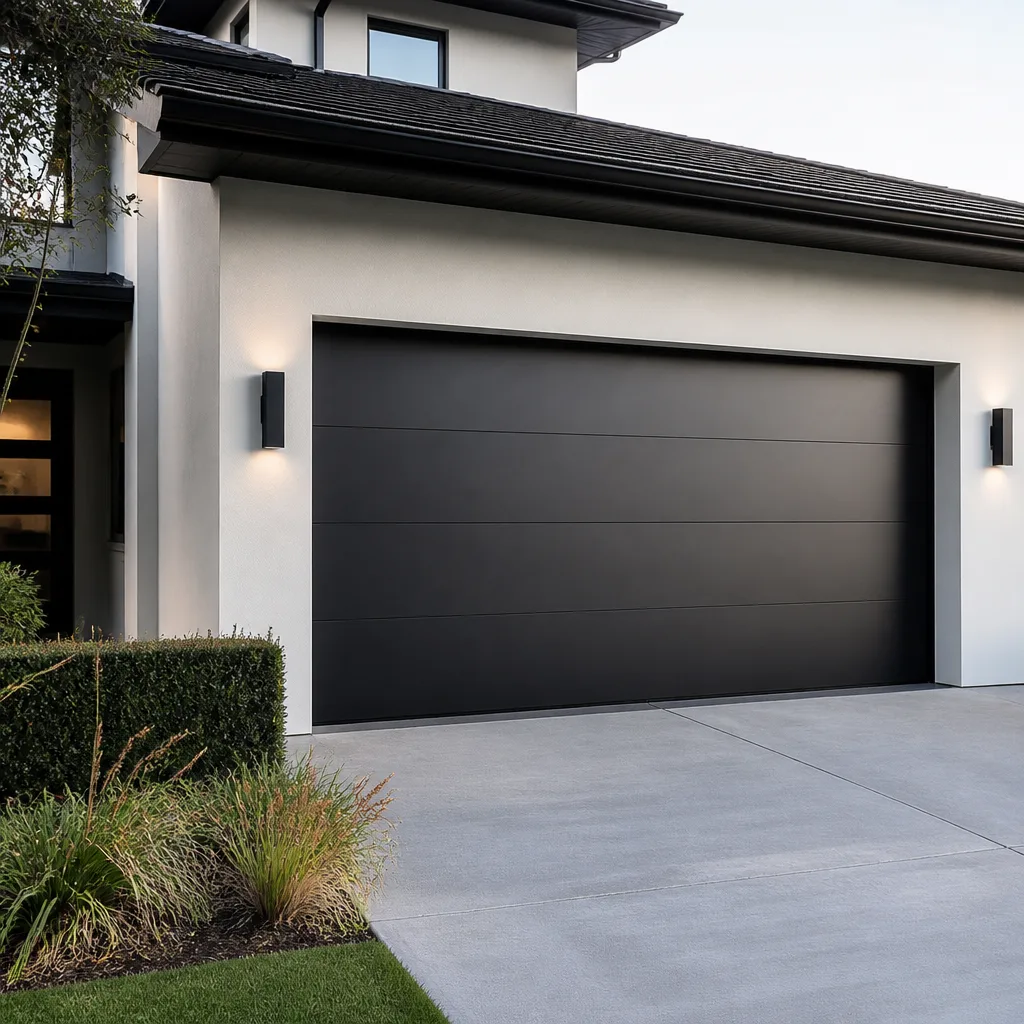 Modern flush
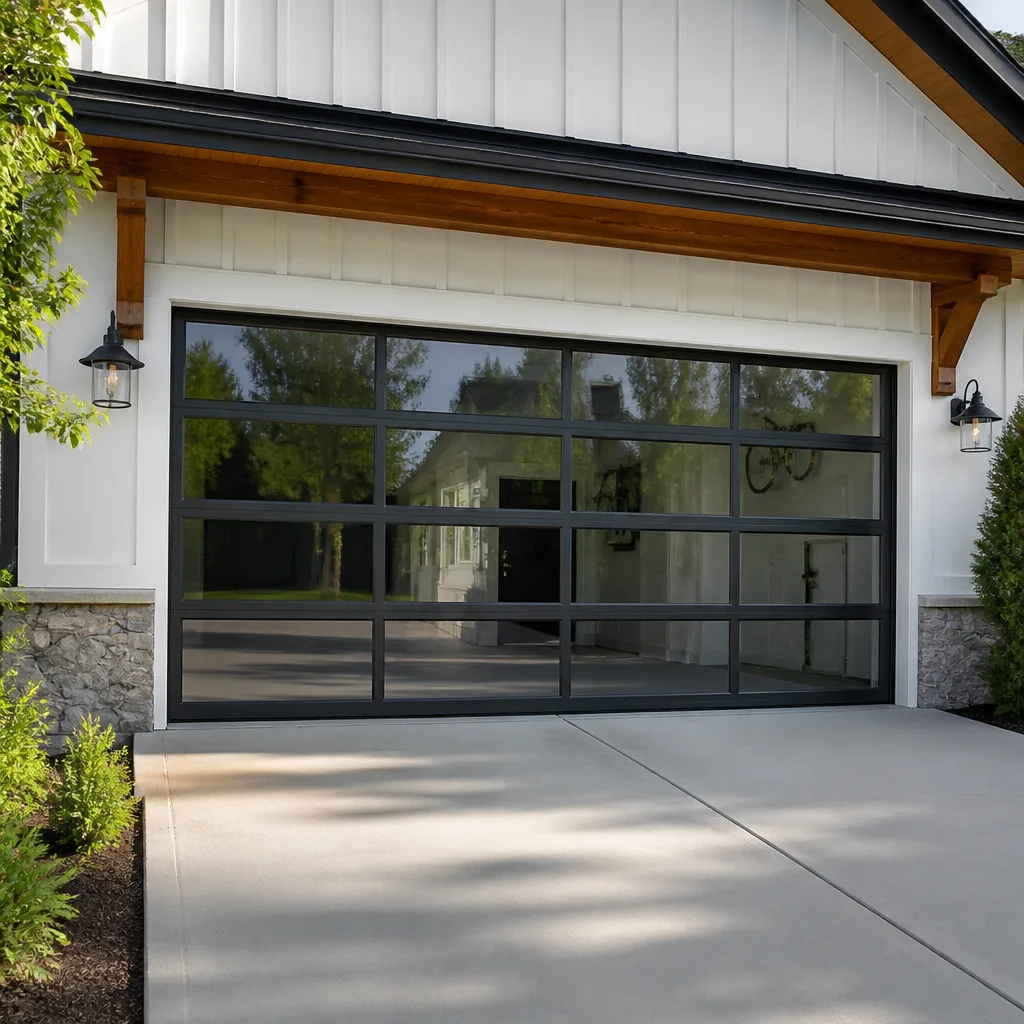 Full-view glass
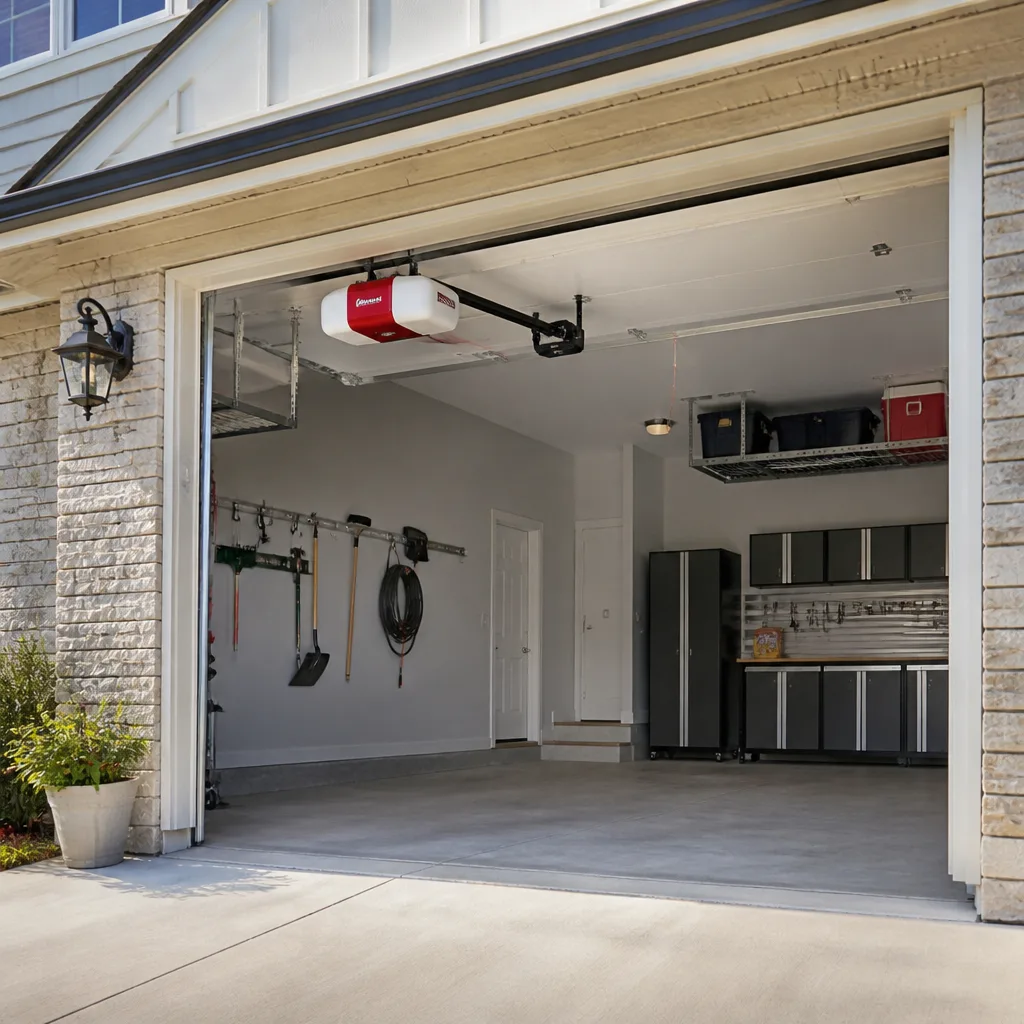 LiftMaster openers
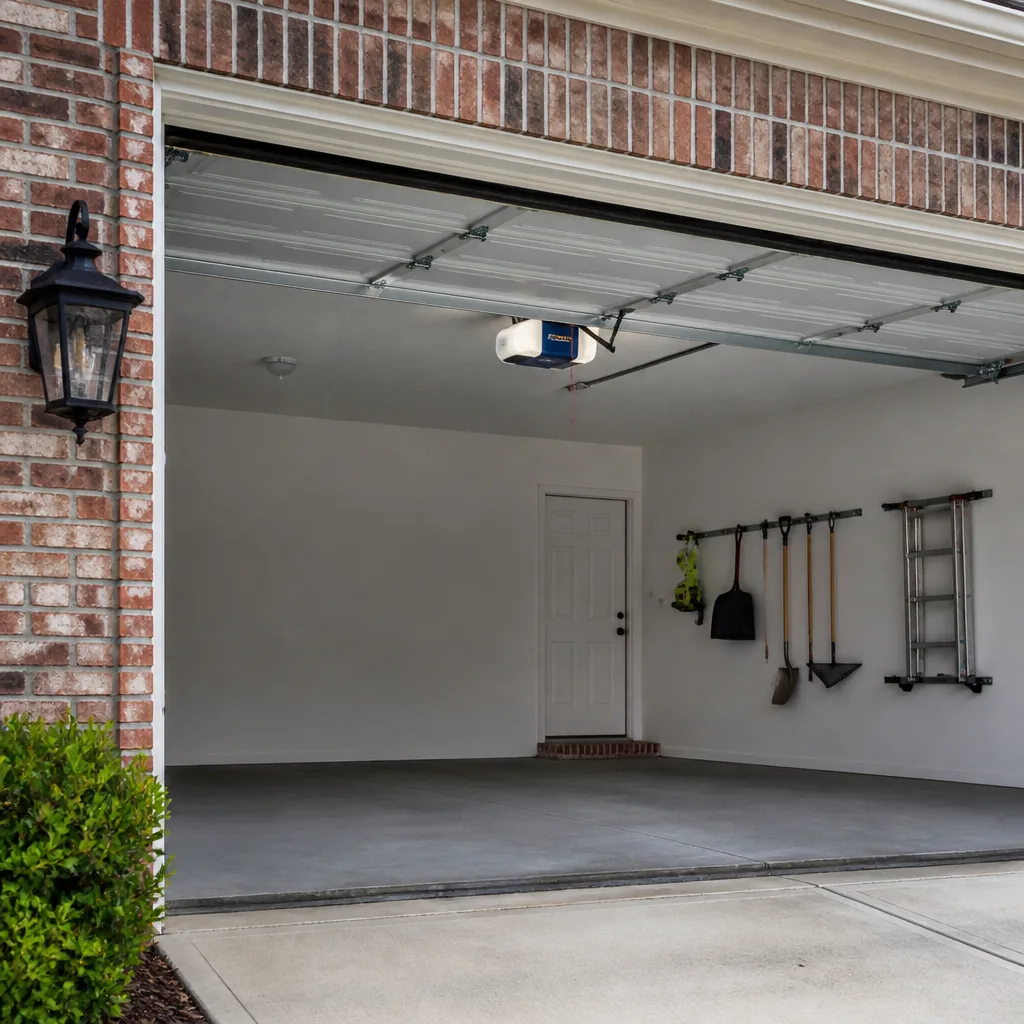 Chamberlain openers
Full 25-point door and opener safety check with every visit - springs, cables, rollers, tracks, and your LiftMaster or Chamberlain opener included
You get a price before we start. It does not change when the pro arrives.
Get your free estimateGarage Door Permits, Codes & Inspections in Bayside, VA: What You Need to Know
Most homeowners in Bayside assume a garage door replacement is routine maintenance, the kind of work that never crosses a building official’s desk. That assumption is where the trouble starts. Virginia’s Uniform Statewide Building Code treats a full door replacement differently from a spring swap or an opener change, and the difference matters most when a house changes hands. A buyer’s lender, a title company, or an appraiser can flag unpermitted work long after the installer has packed up. This guide explains exactly when a permit is required in Bayside, what an inspection actually checks, who is responsible for pulling the paperwork, and how to fix a permit problem that a previous owner left behind.
Quick Answer
In Bayside, Virginia, a garage door replacement generally requires a building permit under the Uniform Statewide Building Code, while routine repairs like spring replacement, cable replacement, or opener repair usually do not. Whether your specific job needs one depends on the scope of work and how the city’s building department classifies it. The safest move is to ask the department directly before work begins, because unpermitted structural work can surface during a home sale and complicate insurance claims.
Styles & brands we work with
- Raised-panel steel
- Carriage house
- Modern flush
- Full-view glass
- LiftMaster openers
- Chamberlain openers
Table of Contents
- When Does Virginia Code Require a Garage Door Permit?
- Replacement vs. Repair vs. Opener Installation: The Distinction That Matters
- What a Bayside Garage Door Inspection Actually Covers
- How Unpermitted Work Shows Up on Title Searches and Insurance Claims
- Contractor vs. Homeowner: Who Pulls the Permit?
- How to Permit Already-Completed Work
- Brand-Specific Code Issues in Bayside
- A Step-by-Step Permit Process for Bayside Homeowners
When Does Virginia Code Require a Garage Door Permit?
The Uniform Statewide Building Code is Virginia’s statewide building regulation, and local jurisdictions like Bayside enforce it with their own permit offices and fee schedules. Under that framework, work that alters the structure of a building, changes a means of egress, or replaces a component governed by the code typically requires a permit. A garage door sits at the intersection of all three. It’s a large moving assembly on the exterior envelope, and on an attached garage it’s often part of the required separation between the house and the vehicle storage area.
That doesn’t mean every visit by a technician triggers paperwork. The code draws a line between maintenance and construction, and garage door work lands on both sides of it. What follows is a practical breakdown of where the line tends to fall in Bayside. Your specific job can differ, so treat this as a starting framework and confirm with the building department before anyone starts.
- Full door replacement: Usually requires a permit. New tracks, new springs, new panels, and new hardware mean a new assembly governed by the code.
- Changing door type or size: Usually requires a permit. Going from a standard door to a carriage-style door, or widening an opening, changes the structural opening.
- Structural changes to the header or framing: Requires a permit. Modifying the opening itself is structural work.
- Spring replacement: Typically treated as a repair. No permit for a like-for-like spring swap.
- Cable, roller, hinge, or sensor replacement: Usually a repair. No permit.
- Opener replacement with the same type: Usually a repair. No permit.
- New opener installation where none existed: Sometimes requires a permit because it involves new electrical work. Ask the building department.
Two of those items are worth dwelling on. The first is that a spring repair and a door replacement are governed differently, and homeowners sometimes conflate them, deciding that because the last spring fix needed no paperwork, a new door won’t either. It will. The second is that new electrical work is its own permit category in many jurisdictions, which is why installing an opener where the garage previously had none can pull in a second department. If your project involves any electrical or structural step, that’s the moment to make a phone call.
Replacement vs. Repair vs. Opener Installation: The Distinction That Matters
The most common permit mistake we see in Bayside is treating a replacement like a repair. The two feel similar from the homeowner’s side, but they mean different things to the code. A repair restores a component to its previous condition. A replacement installs a new assembly, and a new assembly is what the code is written to regulate.
What counts as a repair
A repair in the code sense means you’re restoring the door to the way it was, not introducing a new component or a new assembly. Swapping a broken torsion spring for a new one of the same rating, replacing a frayed cable, changing a bent roller, or exchanging a failed opener for a comparable unit all fall on the repair side. These visits are short, they don’t change the door’s size, weight class, or travel, and the code has no reason to regulate them.
That said, repairs carry their own safety stakes. A torsion spring under tension can cause serious injury if it fails during handling, and the same is true of the cables that carry the door’s weight. We handle spring work as a dedicated specialty for exactly that reason, and we don’t recommend homeowners attempt it. This isn’t a “watch a video and try it” job.
What counts as a replacement
A replacement means the whole door assembly comes off and a new one goes on. That includes new tracks, a new set of springs, new hinges and rollers, and a new panel set. Even if the opening itself is unchanged, a replacement introduces a new assembly that has to be installed to the code’s standards for wind loads, clearance, and auto-reverse safety. That’s what a permit records. It’s also why a permit for replacement is more common than homeowners expect, and why the county’s inspection process wants to see the finished product.
Opener installation and repair
An opener repair is a repair. A belt, a gear, a logic board, or a safety sensor swap doesn’t trigger a permit. An opener installation on an existing door is usually also on the repair side, because the door assembly isn’t changing. But when you install an opener where there was none, or run new wiring to a new circuit, you’re adding electrical work, and that often needs a permit from the electrical side of the building department. Ask before you buy the unit, not after.
What a Bayside Garage Door Inspection Actually Covers
A building inspection for garage door work is short and focused, and it targets the three things that cause the most failures in service: spring tension, header clearance, and the auto-reverse system. Knowing what an inspector looks at is useful even if you’re not having work permitted, because those are the same checks a competent installer should run before leaving a job.
Spring tension
Torsion springs are rated by cycle life and by the amount of lift they provide. An inspector checks that the springs installed match the door’s weight and that the door balances correctly in both the open and closed positions. A door that drifts down when released halfway is a sign of incorrect spring tension, and it’s the kind of imbalance that puts extra load on the opener and can lead to premature hardware failure. New springs need to be matched to the new door, not carried over from the old one unless they’re correctly sized.
Header clearance
Header clearance refers to the space between the top of the door and the ceiling of the garage. The door needs to fully clear the header when open, and the installer needs enough room above the door for the torsion bar and the opener rail. In Bayside, homes with vaulted or unusually low garage ceilings can be tight on clearance, and an inspector wants to see that the installed door fits without binding. This is also where a door-type change runs into trouble, because switching to a carriage-style or a taller door can exceed the available space.
Auto-reverse compliance
Every automatic opener sold in the United States must have a functioning auto-reverse system, and this is one of the most commonly failed inspection items. The system has two parts. The photoelectric eye at the bottom of the door must detect an obstruction and reverse the door. The mechanical pressure sensor must reverse the door when it hits something. An inspector will test both, and a door that fails either test can’t be signed off. If you’ve had an opener installed, expect the inspector to trip the safety eye and push on the door to confirm the reverse function works.
Other items on the list
- Door balance and travel limits
- Track alignment and secure mounting
- Fastener and bracket installation
- Weather sealing at the bottom and sides
- Labeling and manufacturer documentation
How Unpermitted Work Shows Up on Title Searches and Insurance Claims
Permits live in a public record, and they follow the property rather than the person who pulled them. That’s the part most homeowners miss. The permit for the door you install today is recorded against the address, and it stays there when the house sells. A title company pulls the permit history during a sale as part of the standard due diligence, and any construction that shows up without a matching final inspection gets flagged.
What happens during a sale
When a buyer’s lender or title company sees unpermitted work, the sale can slow down or stall. The lender may require proof that the work was permitted and inspected before it will fund the loan. The buyer may ask for a credit or a price reduction. The seller may have to permit the work retroactively, which means opening a permit after the fact and going through the inspection process at the worst possible time, with a closing date looming. In our experience, the cost of a permit is small compared to the cost of a delayed closing.
What happens during an insurance claim
Homeowners insurance policies typically require that improvements to the home be permitted and built to code. If a garage door fails and causes damage, and the adjuster finds that the door was installed without a permit, the claim can be complicated or denied. The reason is straightforward. The insurer priced the policy on a home that meets code, and an unpermitted installation is a question mark about whether it does. This is one of the strongest arguments for pulling the permit up front, even when the work feels small.
- Title search: Permit history is checked during a sale, and mismatches show up.
- Lender review: Some lenders require evidence of permitted work before funding.
- Appraisal: An appraiser may note unpermitted additions or alterations.
- Insurance: Claims can be questioned if the work wasn’t permitted.
- Retroactive costs: Fixing the issue later costs more than doing it right the first time.
Contractor vs. Homeowner: Who Pulls the Permit?
The permit is almost always pulled by the contractor doing the work, because the permit is tied to the scope and the contractor’s license. The homeowner is the property owner of record and is technically the applicant in most jurisdictions, but the contractor handles the paperwork, the inspection scheduling, and the final sign-off. The homeowner signs the application and pays the fee.
This is where a lot of confusion lives in Bayside. Some contractors tell homeowners to pull their own permits, which shifts the liability. Some contractors pull a permit and never close it out with a final inspection, which leaves the property in a worse position than if no permit had been pulled at all. Some skip it entirely and tell the homeowner it isn’t required, which is where the title problem originates.
What the contractor is responsible for
- Determining whether the scope of work requires a permit
- Pulling the permit before work begins
- Making sure the installation meets code
- Scheduling the inspection with the building department
- Being present for the inspection and correcting any failures
- Closing out the permit with a final approval
What the homeowner is responsible for
- Signing the permit application
- Paying the permit fee
- Keeping the permit documentation for the future
- Verifying the permit was pulled before work began
- Making sure the final inspection happened
The last item on the homeowner’s list is the most important one. A permit that’s pulled but never closed out shows up as an open permit on a title search, which can be worse than a permit that was never pulled at all. Before you write a final check, ask for the inspection approval in writing.
How to Permit Already-Completed Work
If you discover that a previous owner replaced the garage door without a permit, or you had work done years ago by a contractor who skipped the paperwork, the fix is a retroactive permit. It’s also called an after-the-fact permit in some jurisdictions. The process is more involved than a standard permit, but it’s manageable, and getting ahead of it before a sale is far less stressful than discovering it during closing.
- Call the Bayside building department. Ask whether the work as it stands can be permitted retroactively, what documentation they need, and what the fee is. Some jurisdictions have a time limit for retroactive permits, so ask about that too.
- Get a professional inspection of the installed door. Before you file anything, have a garage door technician inspect the installation and note anything that would fail a code inspection. Springs matched to the door, header clearance, auto-reverse function, track alignment. If something’s wrong, you want to know before the building department does.
- Correct any deficiencies. If the door was installed without correct spring tension, an undersized header, or a non-functioning auto-reverse, those items need to be brought up to code before the permit inspection.
- Submit the permit application. The application will describe the work that was done, and you’ll likely pay a fee that includes the original permit cost plus a retroactive surcharge.
- Schedule the inspection. The building inspector will review the installation against the code. If the correction work is done, the inspection is usually straightforward.
- Close out the permit. Get the final approval documentation and keep it with the rest of your home records. This is what a title company will look for during a sale.
The whole process takes some coordination, but the alternative is a surprise during closing. If you’re not sure whether a garage door in your Bayside home was permitted, the building department can check the record for your address. It’s a quick call and it’s free.
Brand-Specific Code Issues in Bayside
Not every brand installs the same way, and some of the code issues that come up in inspection are brand-specific. We work on Wayne Dalton, Craftsman, Raynor, and LiftMaster systems regularly, and each one has its own quirks that affect whether an installation passes.
Wayne Dalton
Wayne Dalton manufactures a wide range of door styles, including some with proprietary track and spring systems that are designed for specific weight classes. When a Wayne Dalton door is replaced with a different brand, the old tracks and springs don’t necessarily carry over cleanly, which is one of the reasons a replacement should be permitted as a full assembly. On a model with a TorqueMaster spring system, the spring is enclosed and the inspection check is different from a standard torsion spring. The inspector checks that the enclosure is intact and the spring is correctly tensioned for the door.
Craftsman and LiftMaster
Craftsman and LiftMaster openers share a lot of internal design, and both use safety-reverse systems that an inspector will test. One common issue we see in Bayside is an older Craftsman opener paired with a new door that’s heavier than the opener is rated for. That’s a code problem because the auto-reverse function may not function correctly under the load. If you’re replacing a door, the opener needs to be matched to the new door’s weight, not the old one’s. That’s not a brand fault, it’s an installation issue, but it’s a common one.
Raynor
Raynor builds commercial and residential doors, and their commercial line is sometimes installed on residential properties with high ceilings. Raynor’s installation instructions are specific about spring tension and hardware, and an inspector will reference those instructions when reviewing the work. If the door was installed without a permit and the springs weren’t tensioned to spec, that’s one of the first things that will come up.
None of this is a reason to avoid a particular brand. It’s a reason to make sure whoever installs your door works on that brand specifically. A technician who installs a Wayne Dalton for the first time is going to miss things that a technician who installs them regularly won’t. That’s why we focus on the eight most widely installed brands rather than treating every door the same.
A Step-by-Step Permit Process for Bayside Homeowners
Here’s the process laid out in order. If you’re having a door replaced in Bayside, this is what to expect from start to final sign-off.
- Confirm the permit requirement. Before any work starts, call the Bayside building department and describe the scope. Ask directly whether a permit is required for the work you’re planning.
- Choose a contractor who pulls permits as a matter of course. A garage door specialist should know the code well enough to tell you without hesitation whether your job needs one. If a contractor seems unclear on the question, that’s a signal.
- Get the permit pulled before work begins. The contractor handles this. The permit needs to be open before the old door comes off, because the inspection covers the installation, not the door that was removed.
- Schedule the inspection at the right stage. Most inspections happen after the door is installed and the opener is functioning. Ask your contractor when the inspection is scheduled and plan to be home if you want to be there.
- Be present for the inspection if you can. It’s a short visit, but watching the inspector go through the checks tells you a lot about the quality of the install. It’s also a chance to ask questions about the door’s maintenance.
- Get the final sign-off in writing. Keep the permit number, the inspection approval, and the contractor’s documentation with your home records. You’ll want them when you sell.
If your existing door was installed without a permit and you’re planning to sell, start the retroactive process now rather than waiting until a buyer’s lender raises the question. The process is easier when there’s no closing date attached.
Common Mistakes to Avoid
- Treating a replacement like a repair. A spring swap doesn’t need a permit. A full door replacement usually does. Assuming the two are the same is the mistake that starts the title problem.
- Pulling a permit and never closing it out. An open permit on the record is a bigger red flag than no permit at all, because it tells a title company that work was started and never inspected. Ask for the final sign-off in writing.
- Trusting a contractor who says a permit “isn’t required” without asking the city. Even specialists get this wrong occasionally, and the liability lands on the homeowner. A single call to the building department settles it.
- Replacing a door without matching the opener. A new door is a different weight, and an opener sized for the old door may not meet the auto-reverse requirement for the new one. This comes up in inspections more than people expect.
- Carrying over old springs and tracks to a new door. Reusing springs from the previous door is a code problem because the spring rating has to match the new door’s weight. It’s also a safety problem, and it’s one reason a replacement is permitted as a complete assembly.
- Assuming the previous owner handled it. When you buy a house in Bayside, the permit history doesn’t automatically come with it. Ask for the permit documentation on any garage door that looks newer than the house.
- Skipping the safety check on an older door. An older Craftsman or LiftMaster opener without a working safety eye is a code issue whether or not you’ve had work done. It’s worth testing the auto-reverse function once a year regardless of permit status.
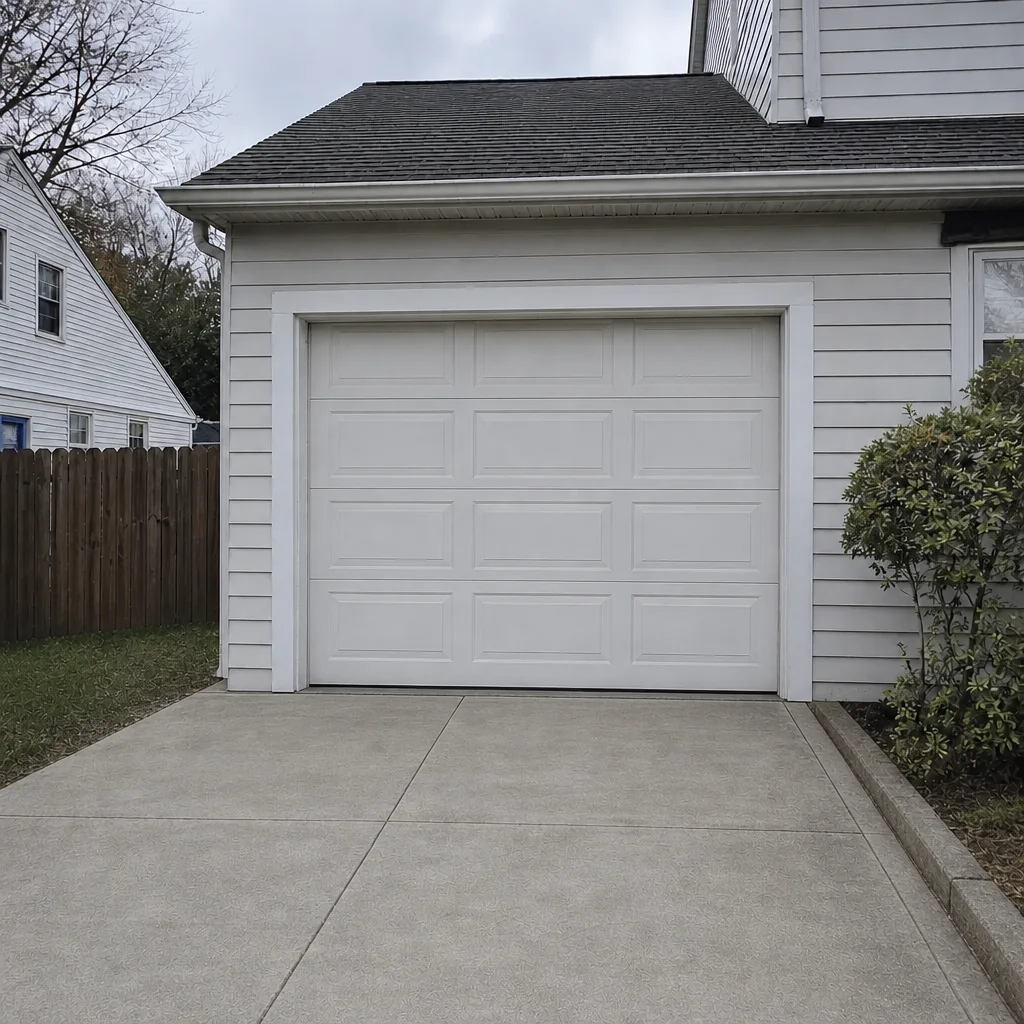
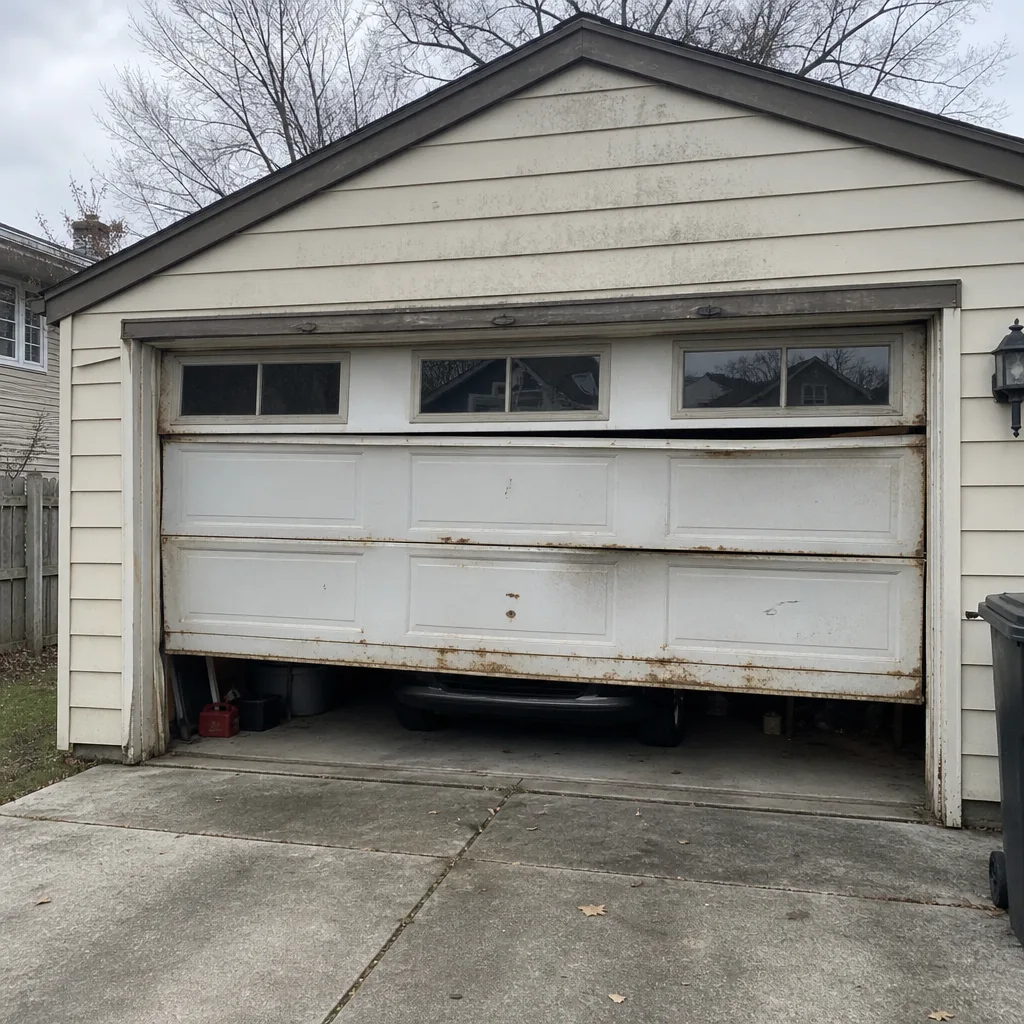
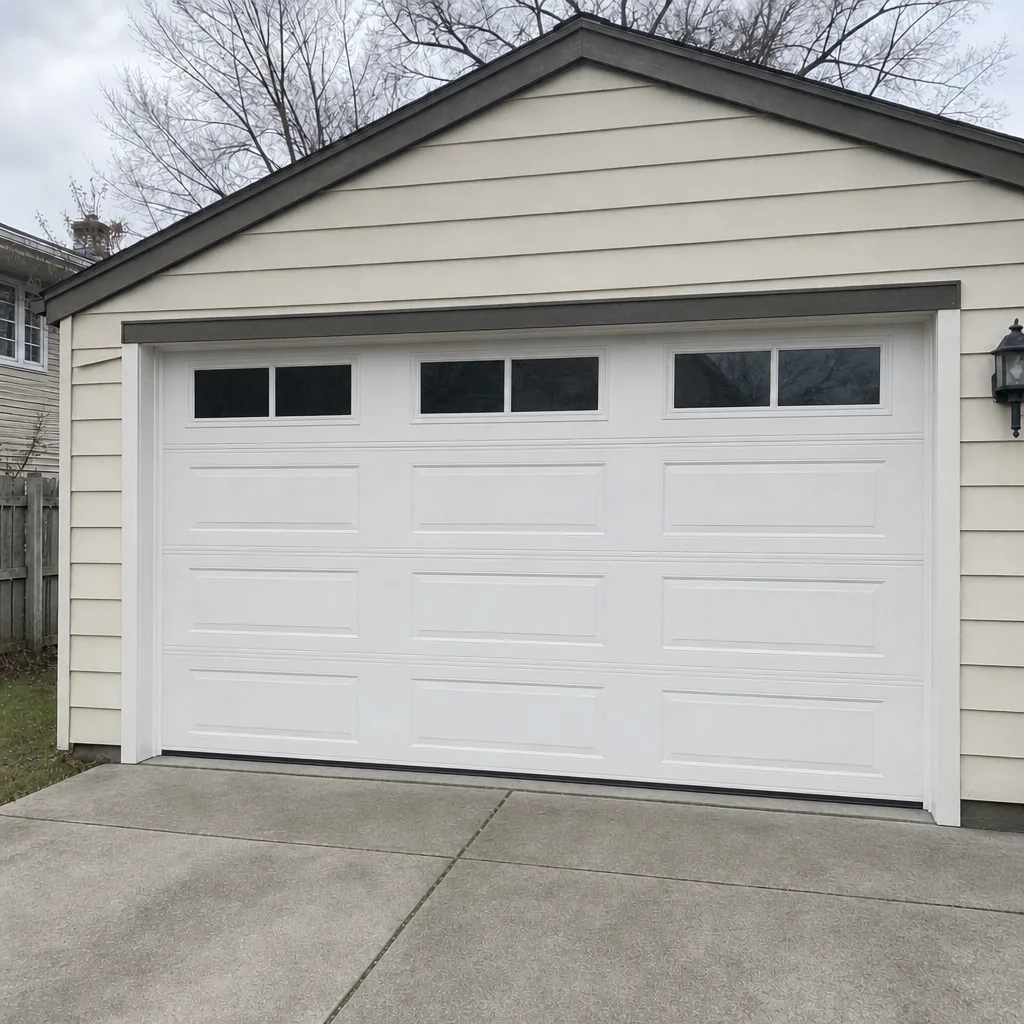
See the difference
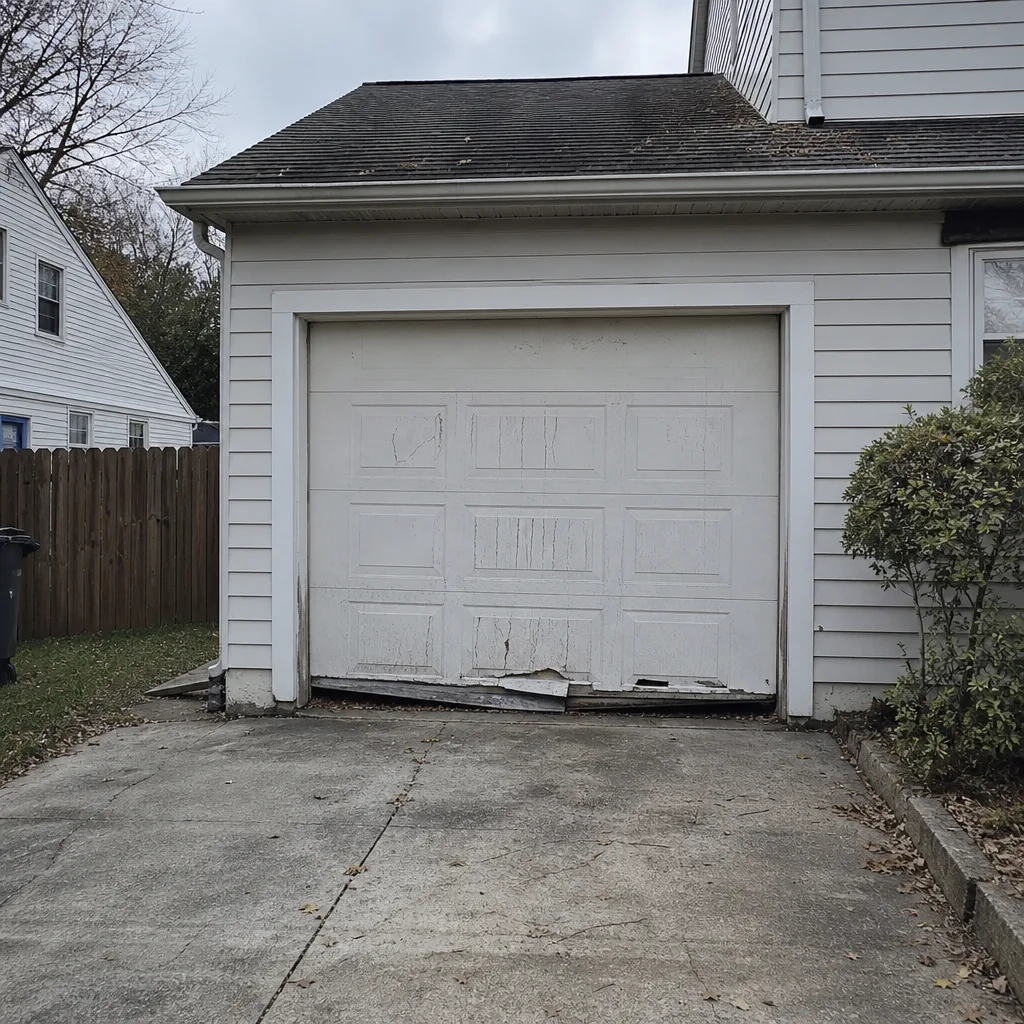 Before
 After
 Before
 After
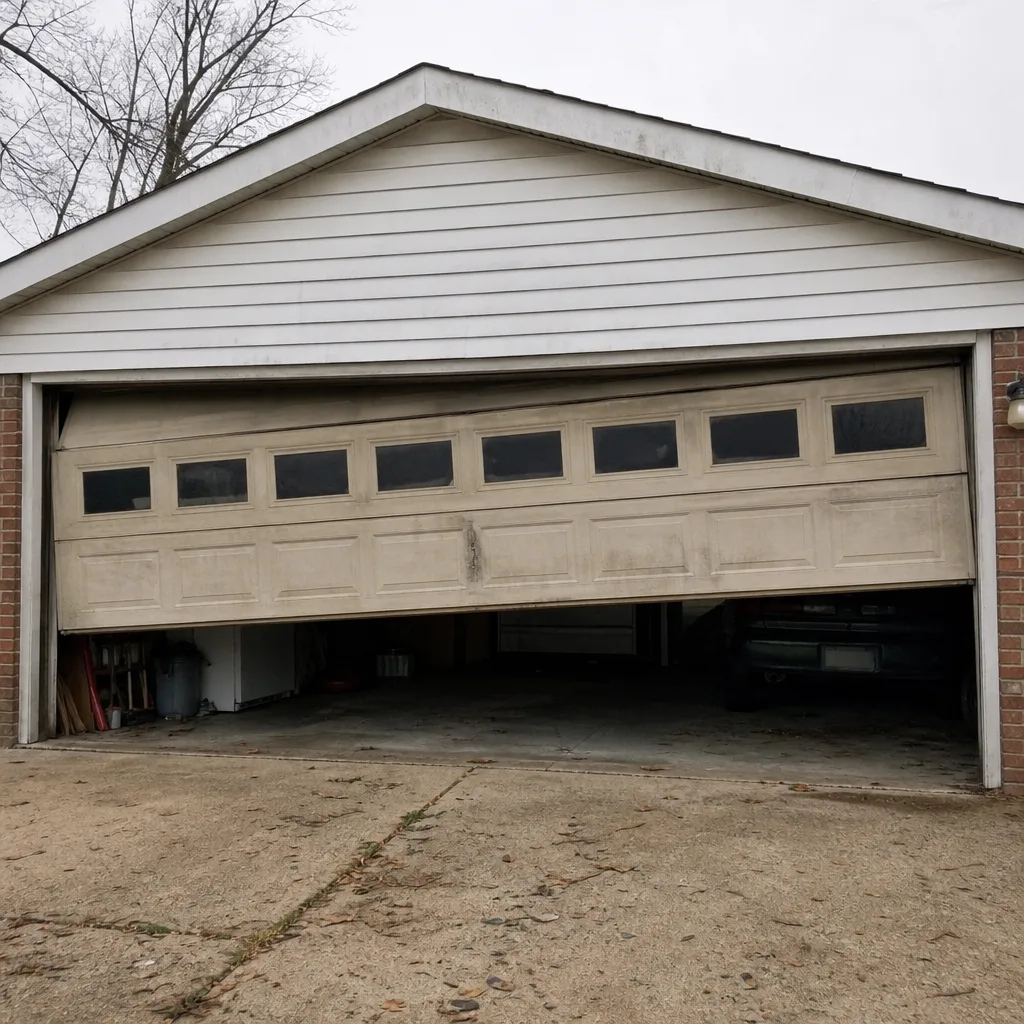 Before
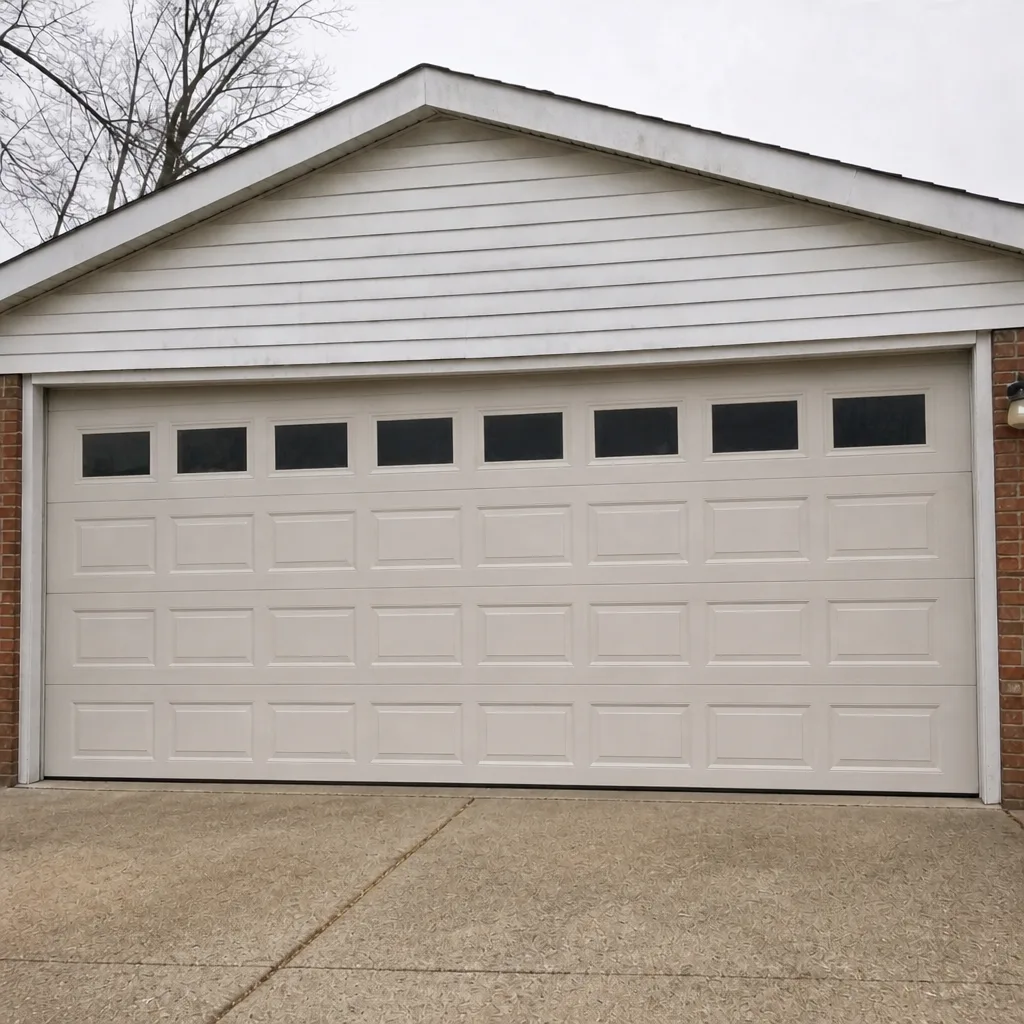 After
When to Call a Professional
Call a garage door specialist when the work involves springs, cables, or the full assembly. Those are the jobs where the safety stakes are high enough that a mistake can cause serious injury. Call us if you’re facing an inspection and need the door brought up to code, if you’ve discovered that a previous owner replaced the door without a permit, if your auto-reverse system isn’t functioning, or if you’re planning a replacement and want a technician to walk the opening and confirm what the code will require before you buy. We handle garage door repair and replacements, and we work on Wayne Dalton, Craftsman, Raynor, LiftMaster, and the other major brands by name. Bayside Garage Door Repair Pros offers free estimates in Bayside – call (877) 757-2379. Our technicians have up to 11 years of experience, and every call is quoted and agreed before any work starts.
Frequently Asked Questions
In most cases, yes. A full garage door replacement generally requires a building permit under Virginia’s Uniform Statewide Building Code because it installs a new assembly governed by code requirements for wind load and auto-reverse safety. Routine repairs like spring replacement or opener repair usually do not. Call the Bayside building department to confirm your specific scope – it’s a free call, and it settles the question. Call (877) 757-2379 for a free estimate on the installation.
No, and not because of the permit. Garage door replacement involves torsion springs and cables under extreme tension, and spring failure during installation can cause serious injury. The permit issue is secondary to the safety issue. Torsion spring work is a job for a trained technician with the right tools and the right handling technique. Call us at (877) 757-2379 and we’ll walk you through what’s involved.
Permit fees in Bayside vary based on the scope of work and the valuation the city assigns to the job, so we can’t quote a flat number here. The fee is typically a small fraction of the cost of the installation itself, which is why it’s worth pulling rather than skipping. The written estimate from your contractor should state whether the permit fee is included. Call (877) 757-2379 and we’ll explain what your project needs and what the estimate covers.
An inspector checks three main things on a garage door installation: spring tension matched to the door’s weight, header clearance so the door fully clears the opening, and the auto-reverse function. The auto-reverse check covers both the photoelectric safety eye and the mechanical pressure sensor. The inspector will also look at track alignment, secure mounting, and the door’s balance. Our technicians run those same checks before they leave a job.
The buyer’s title company or lender may flag the unpermitted work during the sale, which can delay closing or require a retroactive permit. The cost of permitting the work retroactively is usually higher than permitting it up front, and doing it under a closing deadline is stressful. If you’re planning to sell in Bayside and aren’t sure whether your garage door was permitted, check with the building department now. Call (877) 757-2379 if you need an inspection before you start the process.
A claim on an unpermitted installation can be complicated or denied, because the insurer priced the policy on a home that meets code. This is one of the strongest reasons to pull the permit up front. If you’re facing a claim now, contact your insurer first, then talk to a garage door specialist about bringing the installation up to code. Call (877) 757-2379 for a free estimate on any corrective work.
The Bottom Line
A garage door permit in Bayside is a small piece of paperwork with an outsized effect on your home’s records. Replacement generally needs one. Repair generally doesn’t. Opener installation depends on whether new electrical work is involved. The permit is pulled by the contractor, closed out by the contractor, and stored by the homeowner, and it matters most when a house changes hands. If you’re facing an inspection, a retroactive permit, or a replacement you want to do right the first time, the first call should be to the building department, and the second should be to a garage door specialist who pulls permits as a matter of course. We work on Wayne Dalton, Craftsman, Raynor, LiftMaster, and the other major brands by name, and we handle everything from a broken spring to a full door installation.
Ready to get started or just have questions about your garage door? Call Bayside Garage Door Repair Pros at (877) 757-2379 for a free estimate. We’ll confirm what your project needs, explain the permit process in plain language, and give you a written price before any work begins.
Written by the team at Bayside Garage Door Repair Pros.