Last updated November 22, 2026
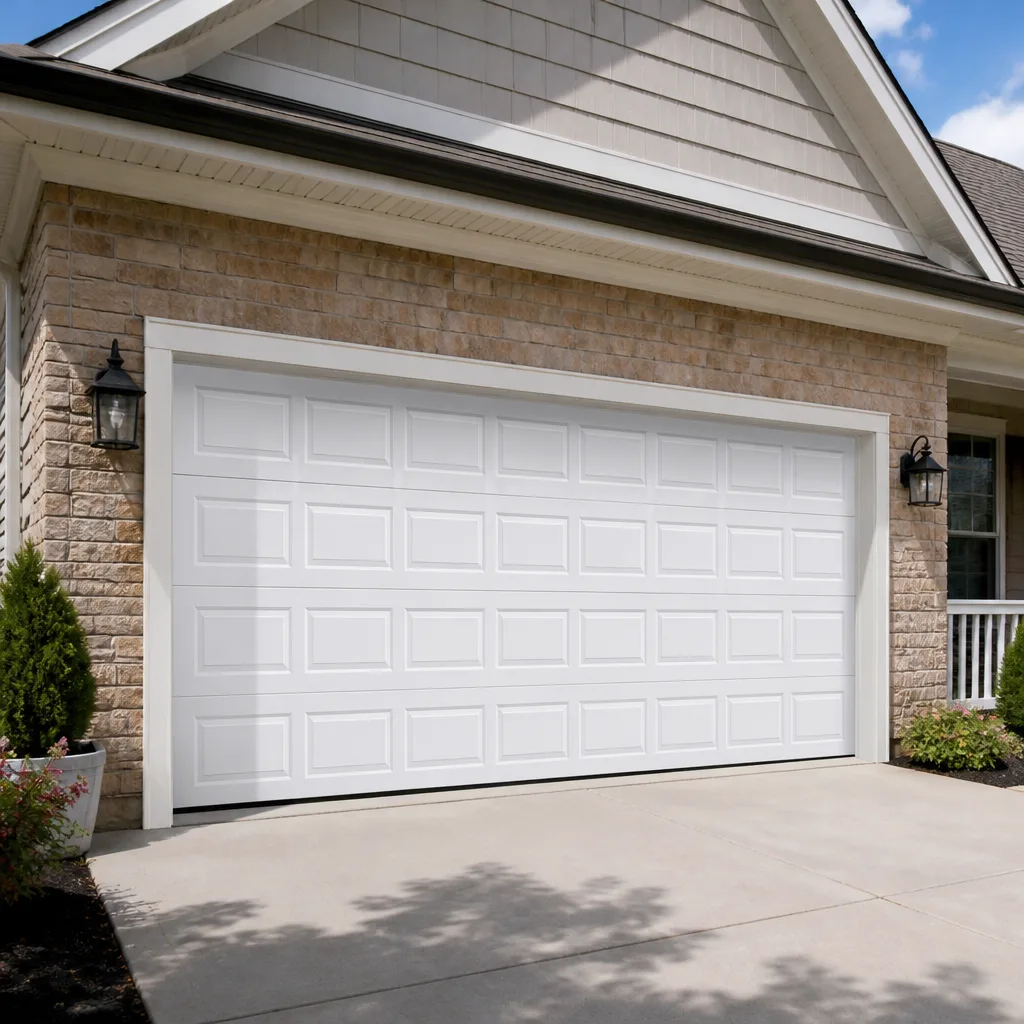 Raised-panel steel
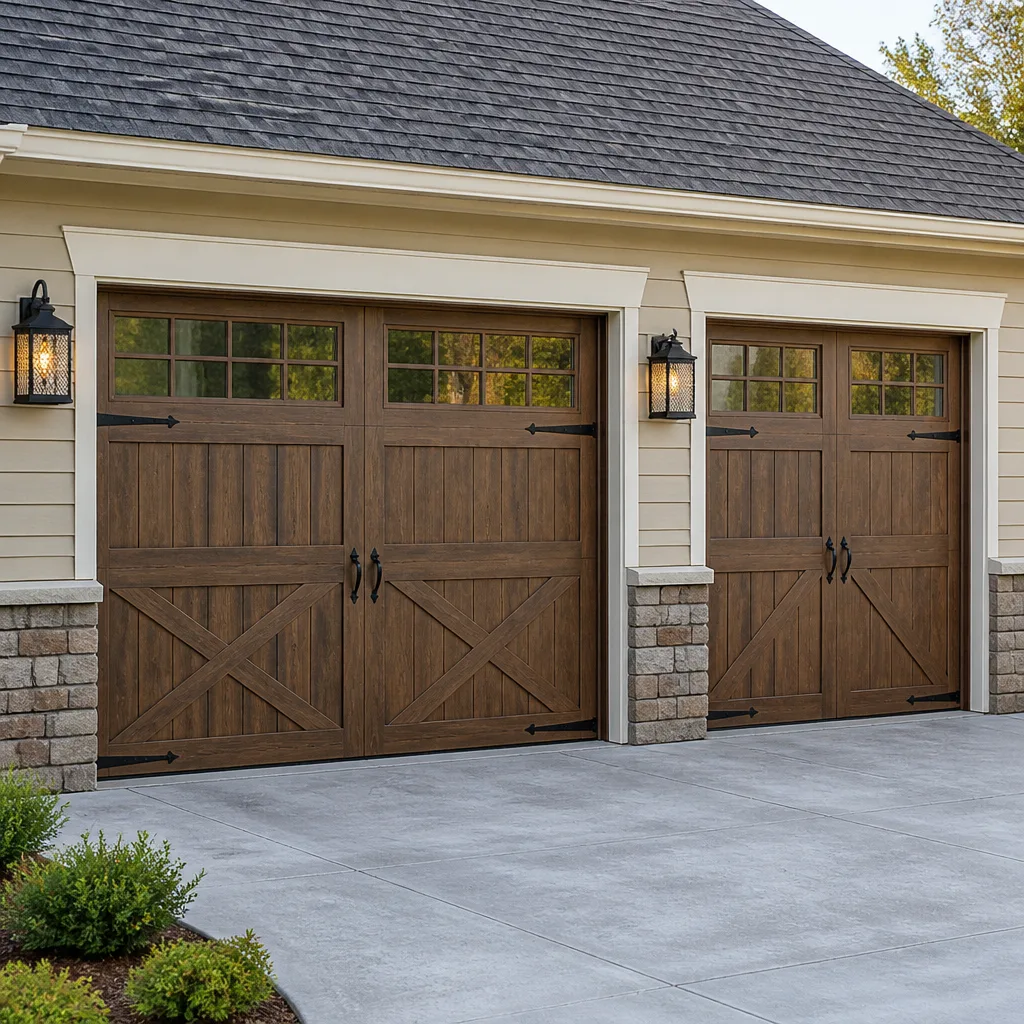 Carriage house
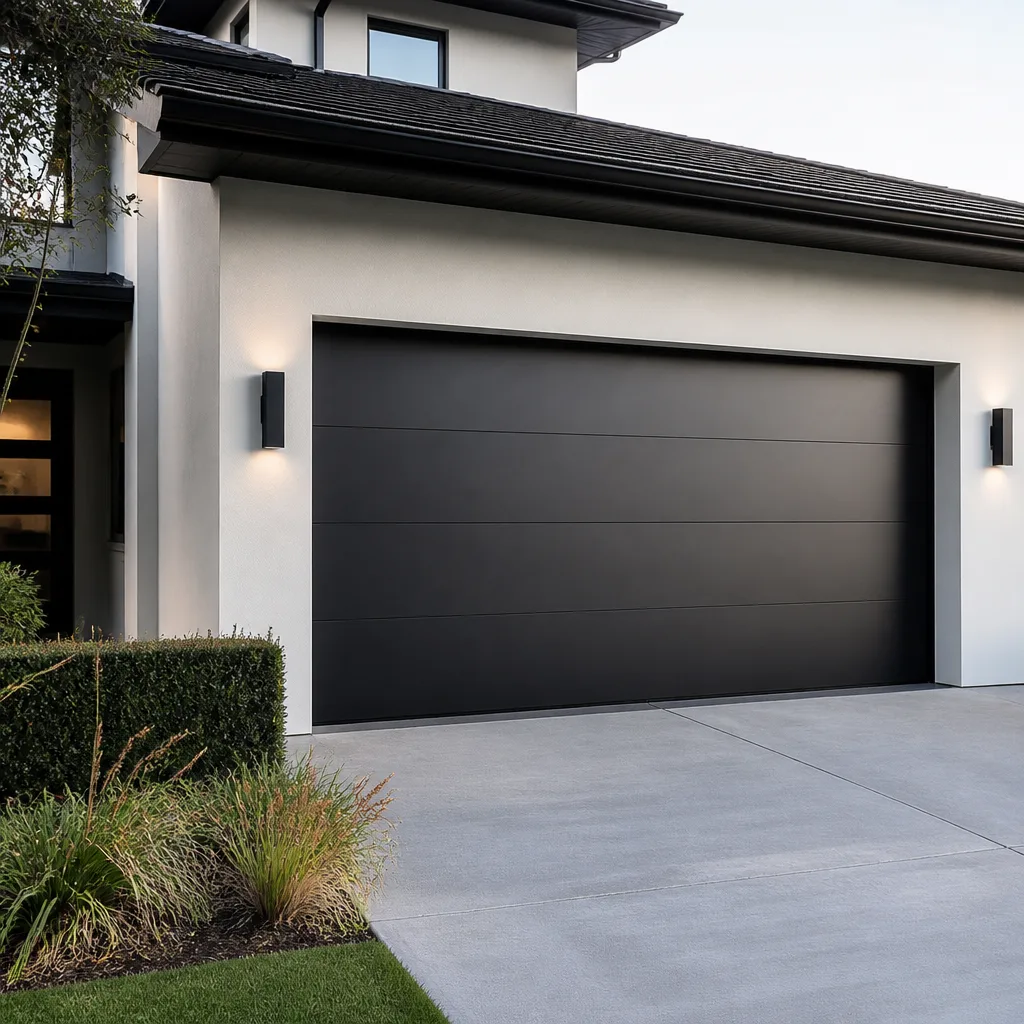 Modern flush
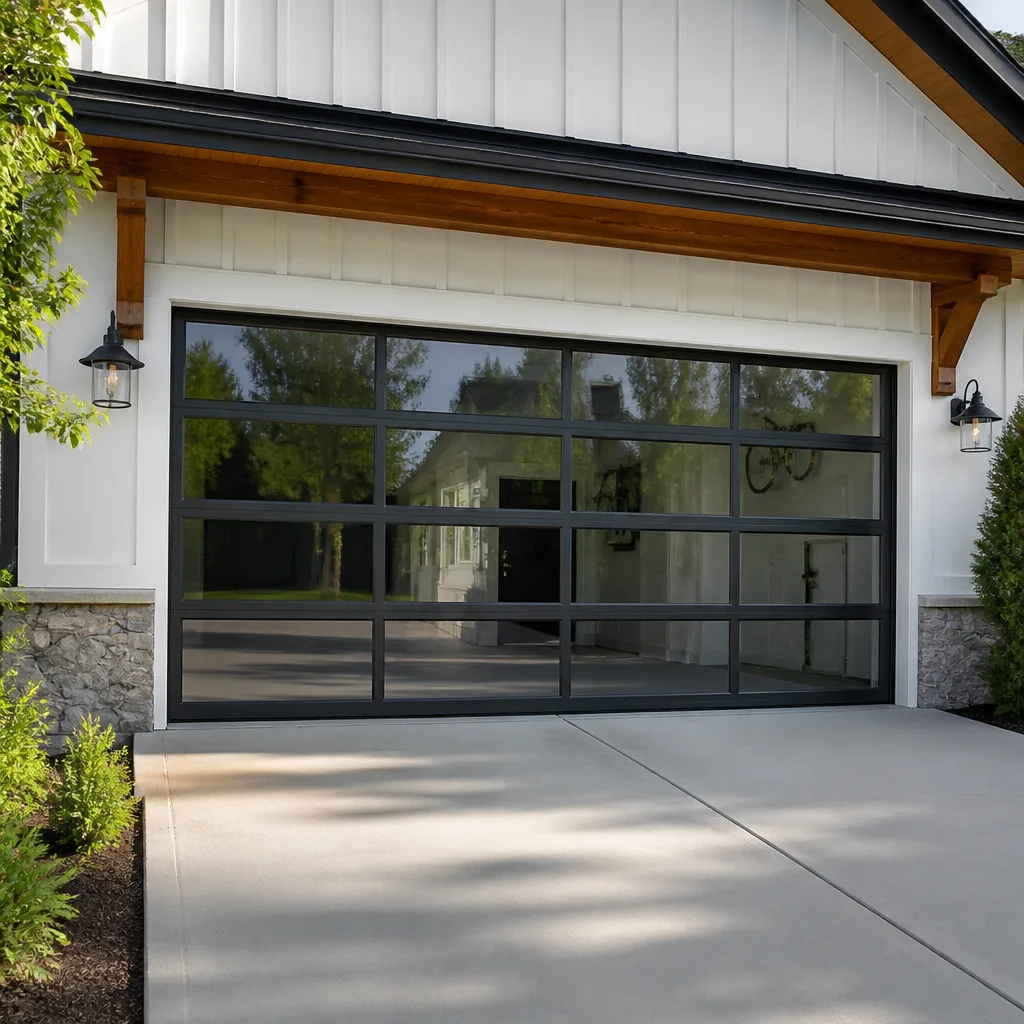 Full-view glass
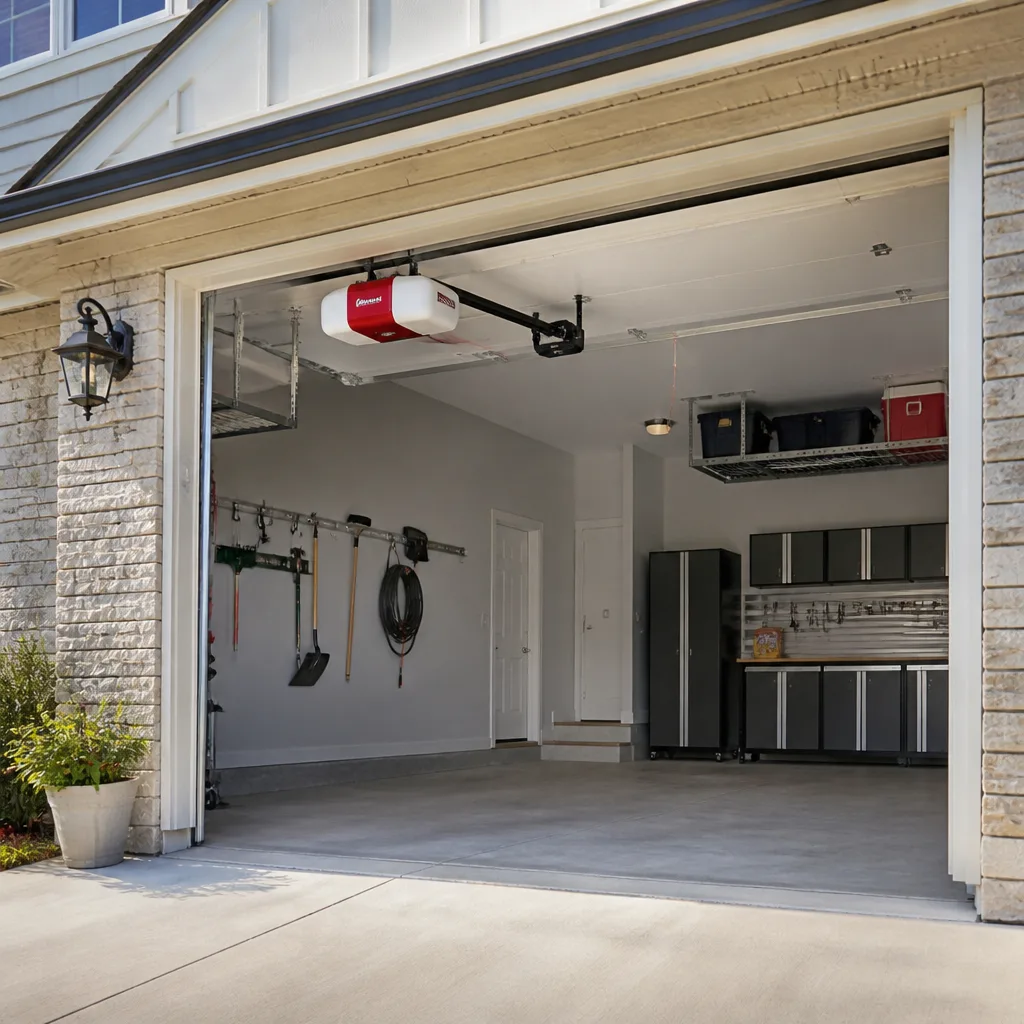 LiftMaster openers
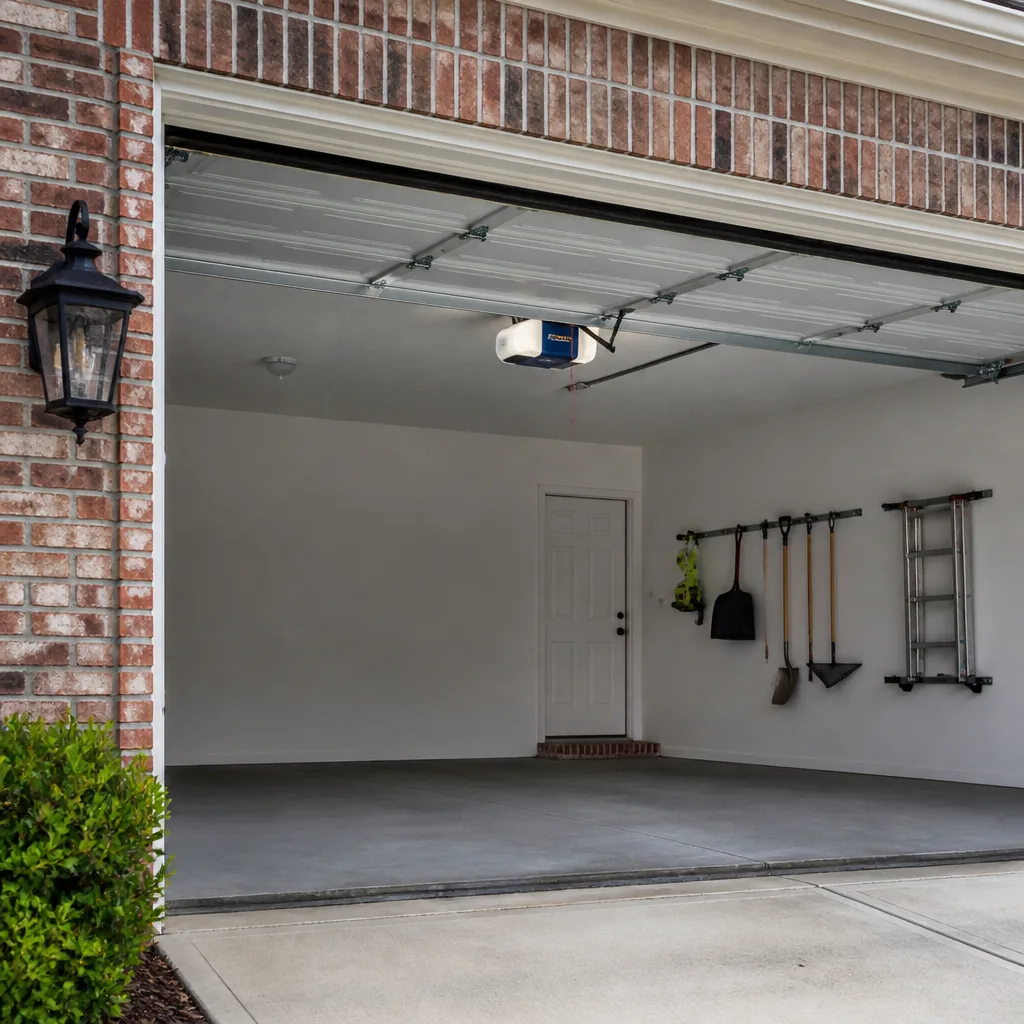 Chamberlain openers
Full 25-point door and opener safety check with every visit - springs, cables, rollers, tracks, and your LiftMaster or Chamberlain opener included
You get a price before we start. It does not change when the pro arrives.
Get your free estimateDIY vs Professional Garage Door: The Bayside Homeowner’s Decision Guide
The DIY versus professional question for garage doors isn’t really about how handy you are. It’s about sorting the job into two piles: tasks that carry genuine injury risk, and tasks that a careful homeowner can handle without thinking twice. People mix those piles up constantly. They’ll pay a technician $120 to reprogram a remote, then turn around and try to swap a torsion spring with a socket set and a ladder from the shed. That mix-up wastes money on one end and risks a hospital visit on the other. This guide splits the whole system apart, task by task, with Bayside specifics on tools, parts, warranty math and when to stop and make the call.
Quick Answer
Safe DIY garage door work is limited to lubrication, sensor alignment, remote and keypad programming, and visual inspection. Torsion springs, cables, drums, and any work with the door under tension should go to a trained professional, full stop. For Bayside homeowners, the dividing line is tension: if a task requires you to release, adjust or replace a part that holds stored energy, it’s a pro job. Everything below that line you can do yourself.
Styles & brands we work with
- Raised-panel steel
- Carriage house
- Modern flush
- Full-view glass
- LiftMaster openers
- Chamberlain openers
Table of Contents
- The Task-by-Task Breakdown: What’s Safe and What Isn’t
- Why Torsion Springs Are a Different Animal Than Extension Springs
- Tools and Parts Access in Bayside: What You Can Realistically Source
- The Warranty Trap: When DIY Work Costs You Coverage
- How to Assist a Professional and Lower Your Bill
- Signs You’ve Crossed From Repair Into Replacement
- DIY vs Professional: A Realistic Cost Comparison
- The One-System Rule: Why Fixing One Part Often Fixes Three
The Task-by-Task Breakdown: What’s Safe and What Isn’t
Here’s the honest sorting. We’ve watched Bayside homeowners save real money on the safe list and get hurt on the unsafe list, and the pattern holds every time. The safe list is longer than most people think. The unsafe list is shorter but far more dangerous than most people realize.
Safe for a careful homeowner
- Lubrication. A garage door has hinges, rollers, a track and a torsion tube that all need periodic lubricant. A garage-door-rated spray lubricant on hinges and bearing plates, applied a couple times a year, quiets a noisy door and slows wear. This is the single highest-return task you can do yourself.
- Photo-eye alignment. The two small sensors near the floor at each side of the opening stop the door if something crosses the beam. If your door reverses for no reason, a bumped sensor is often the cause. Straightening one so its LED glows steady is safe and quick.
- Remote and keypad programming. Pairing a new remote or resetting a wireless keypad is a manual-and-button job. On Chamberlain and Genie openers, the pairing button is on the motor head and the process takes a couple of minutes.
- Visual inspection. Look at the springs for gaps or a stretched coil, check the cables for fraying, tug the door to check balance, and listen for grinding. You’re looking, not adjusting. That’s the safe half.
- Track cleaning and light debris removal. Wiping dust, leaves and grit out of the track channel with a rag won’t hurt anything and helps rollers travel smoothly.
Professional territory
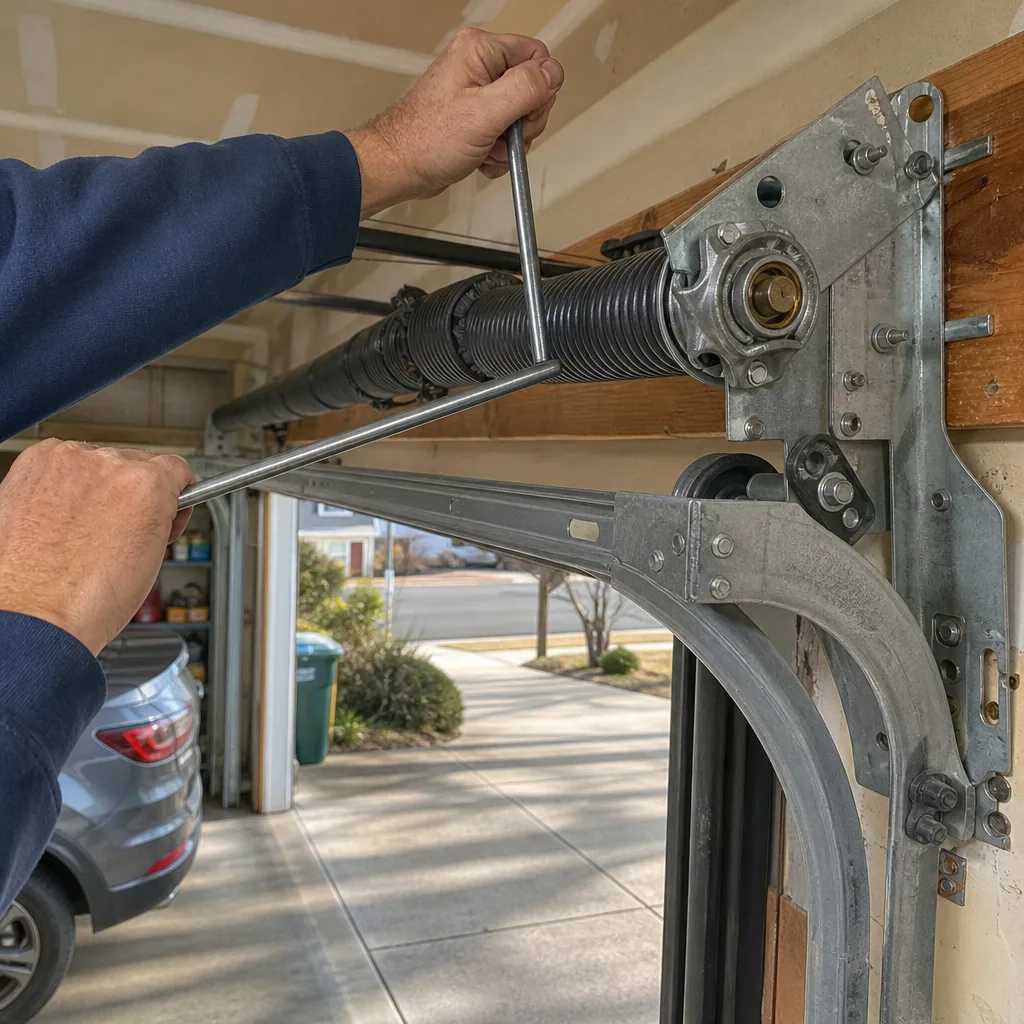
- Torsion springs. The coiled spring above the door holds the door’s full weight in tension. Replacing one means winding that tension back up. Get this wrong and the spring can release its stored energy in a fraction of a second.
- Cables and drums. Cables are under load and run through drums that spool them at precise tension. A snapped cable whips, and a mis-seated one can drop the door.
- Bottom brackets and hinges under load. These fittings hold the cable and the door’s weight. Removing one while the door is up can release the whole assembly.
- Opener rail and motor replacement. Replacing an opener means working overhead with wiring, the rail, the trolley and the safety reversal system, all of which have to be tested and set correctly.
- Panel replacement on a tensioned door. A bent bottom panel looks like a swap job. On a door under spring tension, it isn’t.
The takeaway is simple: anything that holds or releases stored energy belongs to a trained technician. Call garage door repair before you touch a part that’s under load.
Why Torsion Springs Are a Different Animal Than Extension Springs
Torsion springs and extension springs both counterbalance the door, but they store and release energy in very different ways, and that difference is exactly why the DIY line gets drawn where it does.
Extension springs
Extension springs run along the horizontal tracks on each side of the door. They stretch as the door closes and pull back as it opens. They work in a straight line, and if one fails, it typically fails along that same line, usually with a safety cable threaded through the middle to contain it. The energy is real but largely directional. That doesn’t make extension spring replacement a beginner job, but the failure mode at least tends to follow a predictable path.
Torsion springs
Torsion springs sit on a metal shaft above the door and are wound into tension during installation. That wound spring stores enough energy to lift the door’s full weight, and it releases that energy in a twisting motion when it fails or is mishandled. There’s no safety cable to contain a torsion spring. If it’s released incorrectly, the energy goes wherever the freed parts send it, which is often up, out, or into whatever is in the way.
This is why professional spring work isn’t about being stronger or braver than the homeowner. It’s that the correct tools exist for a reason: a winding bar lets a technician control that tension in measured steps and keep their body out of the release path. You can’t replicate that with a screwdriver and a pair of work gloves. The physics doesn’t care how careful you are.
Which door you have matters here for another reason. Clopay and Amarr doors in particular can ship with torsion setups calibrated to specific spring wire gauges, and matching that spec exactly is part of the job. Bayside Garage Door Repair Pros keeps the winding bars, gauges and spring stock on hand so the repair is matched to the door, not approximated.
Tools and Parts Access in Bayside: What You Can Realistically Source
Some of the parts a door needs are at any big-box store. Some are on contractor accounts and nowhere else. Knowing which is which saves a wasted Saturday and a second trip.
Available to a Bayside homeowner
- Garage-door-rated lubricant (not WD-40, which attracts grit)
- Replacement rollers and hinges, standard sizes
- Photo-eye sensors and the wiring to reconnect them
- Universal remote and keypad kits
- Cable lubricant and track cleaning supplies
- Weather seal strips for the bottom and sides
Realistically pro-only
- Correctly spec’d torsion springs matched to door weight and wire gauge
- Winding bars and spring gauges
- Cable and drum assemblies sized per door
- Manufacturer-spec opener rails and trolleys for a specific brand
- Matched replacement panels for Clopay and Amarr door lines
- Bottom brackets rated for the door’s tension
The gap isn’t just about buying. It’s about matching. Ordering a spring “for a standard door” often gets you the wrong wire gauge, and a wrong-gauge spring either sags quickly or puts the opener under additional load. A pro has access to the spec sheet and the stock to match it. If you’re in Bayside and the part isn’t on the safe list above, that’s your signal to call. A free estimate on the actual job will often cost less than a wrong part and a second attempt.
The Warranty Trap: When DIY Work Costs You Coverage
This is the part that catches people after they’ve already done the work. Manufacturer warranties and installer workmanship guarantees often have a clause about unauthorized repair. In practice that means a homeowner who tries to service a spring or replace a cable on a door still under warranty can end up with no coverage on the whole door assembly, not just the part they touched.
What tends to void a warranty
- Replacing a spring or cable with a non-spec part
- Adjusting the opener’s force or travel limits beyond factory settings
- Disconnecting or bypassing the safety reversal system
- Modifying the torsion assembly or brackets
- Using parts that aren’t intended for the door line
What usually doesn’t
- Lubrication
- Photo-eye cleaning or alignment
- Remote or keypad reprogramming
- Replacing a dead opener battery
- Light cleaning of the track
The real risk is the mistaken-repair clause: if you attempt a fix and it fails in a way that causes more damage, the manufacturer can attribute the failure to the repair attempt and decline the claim. We’ve seen homeowners try to fix their own spring, get the door partway through the repair, and end up replacing a whole panel instead. That move trades a repair bill for a much larger one. If your door is new enough to still be under warranty, check the terms before you pick up a wrench.
How to Assist a Professional and Lower Your Bill
You can’t safely do the dangerous work, but you can absolutely reduce the billable time on a professional visit. Most of that reduction is prep. A tech who arrives and finds a clear, accessible work area can move straight into the repair instead of spending fifteen minutes moving things around.
- Clear the work area. Move the car out of the garage, clear the floor under the door, and pull anything stored near the tracks and the motor head back at least a few feet.
- Make sure power is on. The tech needs to cycle the door to diagnose it. If the breaker is off or a GFCI is tripped, that’s time spent hunting.
- Write down what you’ve noticed. When the door started acting up, what noise it makes, whether it reverses, whether a remote works but the wall button doesn’t. This is background info that speeds up diagnosis.
- Have your door’s info ready. If you have the original install paperwork or a brand sticker inside the door, have it available. If you know the door is a Clopay or Amarr model, that speeds up part selection.
- Note the opener brand. LiftMaster, Chamberlain, Genie, Craftsman and Raynor each have their own quirks and their own pairing procedures.
- Stay out of the work area while the tech is working. A ladder, a running door and a bystander don’t mix.
Done right, this pushes the visit toward the actual repair and away from setup, which is where a chunk of the labor time goes on any garage door opener repair call or spring swap. The savings aren’t huge, but they’re real, and they don’t cost anything.
Signs You’ve Crossed From Repair Into Replacement
Bayside homeowners often ask whether a problem is repair or replace, and the answer usually comes down to a few observable signals. A door that’s showing two or more of these is usually a replacement conversation, not a repair.
- Multiple panels are bent or dented. One panel can often be swapped. Three or four means the door has taken real structural damage.
- The door sags in the middle when closed. This is a sign the panels themselves are losing stiffness, not just the springs.
- Springs have been replaced more than once and keep failing. Repeated spring failure can indicate the door is heavier than the spring rating or the opener is straining the system.
- The opener motor runs but the door doesn’t move, or the door is very heavy. That can point to a stripped gear or a broken spring, and if the opener is old, the fix may not be worth it.
- Rust through the bottom panel or along the stiles. Rust that’s eaten through the metal is a structural problem, not a cosmetic one.
- Repeated cable failures. Cables failing twice means something upstream is misaligned or overloaded.
When a repair estimate starts to approach the cost of a new door, it’s usually time to look at replacement. A garage door installation resets the clock on the springs, cables, rollers, panels and opener at once, and that math is worth doing out loud with a pro on the phone.
DIY vs Professional: A Realistic Cost Comparison
The cost conversation has to include the cost of doing it wrong. A homeowner-sourced spring costs less on the shelf. It costs a lot more if it’s the wrong spec, if it fails, or if it damages the door. Here’s the honest comparison, using the current typical ranges for garage door work.
Typical garage door costs in Bayside
| Job | Typical range | Who should do it |
|---|---|---|
| Torsion spring replacement (one spring) | $180-$340 | Professional |
| Torsion spring replacement (matched pair) | About twice the single-spring range | Professional |
| Cable replacement | $150-$300 | Professional |
| Opener repair or replacement | $250-$650 | Professional |
| New garage door installation | $900-$4,000+ | Professional |
| Lubrication, sensor alignment, remote programming | Free to a small parts cost | Homeowner |
A note on the spring ranges: that’s per spring. Most doors carry a matched pair, and a pair is usually replaced together, so double the single range for a pair. The estimate you get in writing is the number that sets the final price, so the ranges above are a planning tool, not a quote.
Now the DIY side of the ledger. Even if you could source a spring and the tools, you’re looking at a few hours of work, no warranty, a real injury risk, and a door that might not work when you’re done. For a spring job, the gap between DIY and professional cost is narrow. The gap in risk is not. Call Bayside Garage Door Repair Pros for a free estimate before you make the choice.
The One-System Rule: Why Fixing One Part Often Fixes Three
A garage door isn’t a stack of parts, it’s a system. The springs, cables, rollers, tracks, hinges and opener all have to work together. When one part fails, it usually does so because a neighbor is out of spec, and the failure often accelerates wear on the parts around it.
How a single repair goes wrong
- Wrong spring, tired opener. A spring rated below the door’s actual weight forces the opener to lift more of the load. The opener’s gear and motor wear faster, and a $200 repair becomes a $600 replacement.
- Sticking roller, misaligned track. A roller that binds slowly pushes the door out of alignment. Replacing the roller fixes half the problem. The track needs to be straightened too.
- Snapped cable, bent drum. A cable that fails often takes the drum with it. Draining the tension without checking the drum usually means a second visit.
- Misaligned photo-eye, opener reset. The opener’s safety reversal is often retested after a sensor problem. Skipping that test hides a bigger issue.
What a proper diagnostic covers
- Balance test with the door disconnected from the opener
- Spring check with the door closed
- Cable and drum inspection with the door in the up position
- Roller and hinge check
- Track alignment check
- Opener force and travel-limit verification
- Safety reversal and photo-eye function test
This is why a proper diagnostic takes more than a glance and a quick fix. A good tech is checking the system, not just the part. If you’re booking an emergency call, Bayside Garage Door Repair Pros runs this full sequence as part of the diagnostic, so the fix you pay for is the fix that holds.
Common Mistakes to Avoid
- Treating a torsion spring like an extension spring. They look related but behave completely differently. Torsion springs are the one job you shouldn’t touch. Extension springs are still a pro job but at least fail in a contained direction.
- Ordering a spring by “standard size.” Springs are spec’d by wire gauge, inside diameter, length and the door’s weight. A near-match will work for a few months and then fail. Get it matched or don’t do it.
- Using WD-40 on the tracks. It removes the lubricant the rollers need and attracts grit. It’s a penetrating oil, not a door lubricant.
- Adjusting the opener’s force limits to force a heavy door up. The opener’s force setting is a safety feature. Turning it up to compensate for a failing spring overloads the motor and defeats the safety reversal.
- Skipping the safety reversal test. A door that closes on a child needs its reversal tested after any change. This is a five-minute check that gets skipped constantly.
- Working on a door that’s still under warranty. Check the manufacturer terms before you touch anything on the safe-to-pro list. A five-minute call to the warranty number protects a larger claim.
- Not asking for a written estimate before the work starts. The written estimate is the number that sets the final price. Get it agreed before a single bolt turns.
See the difference
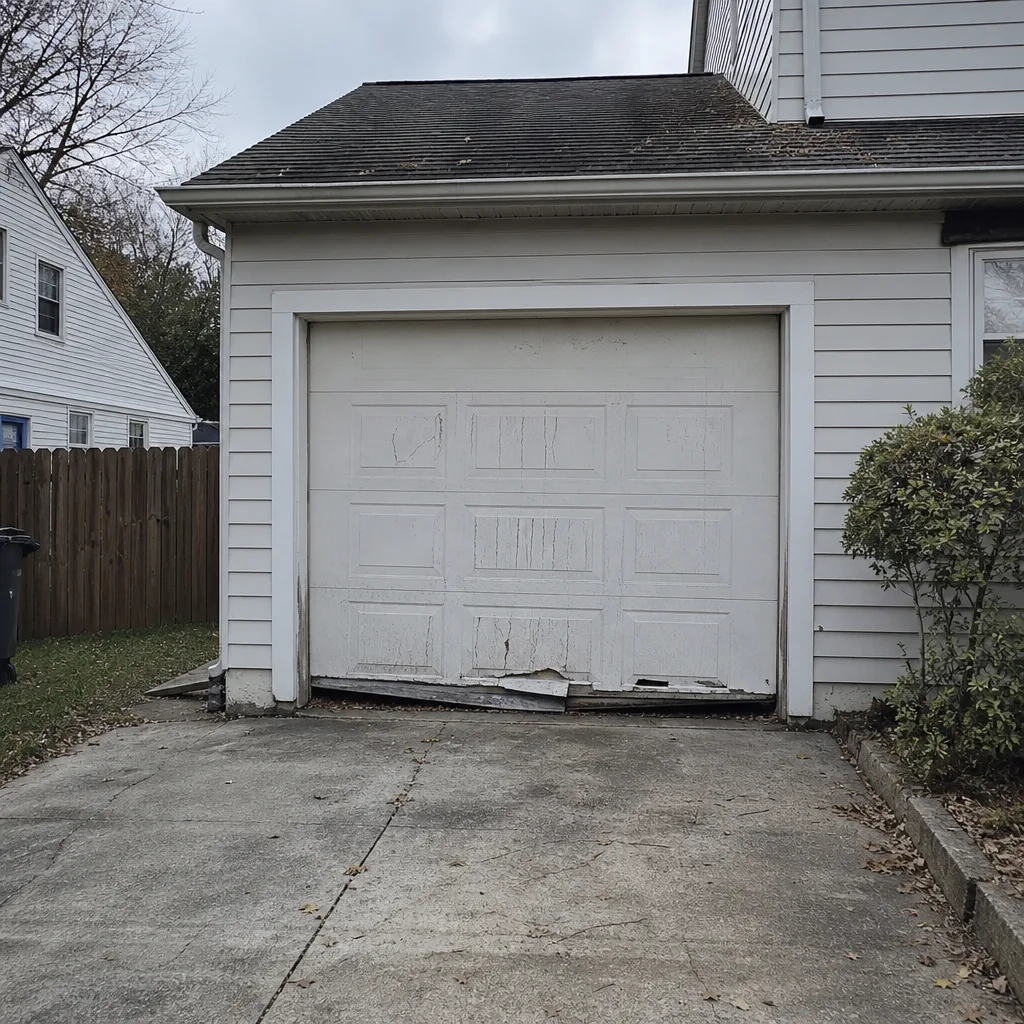 Before
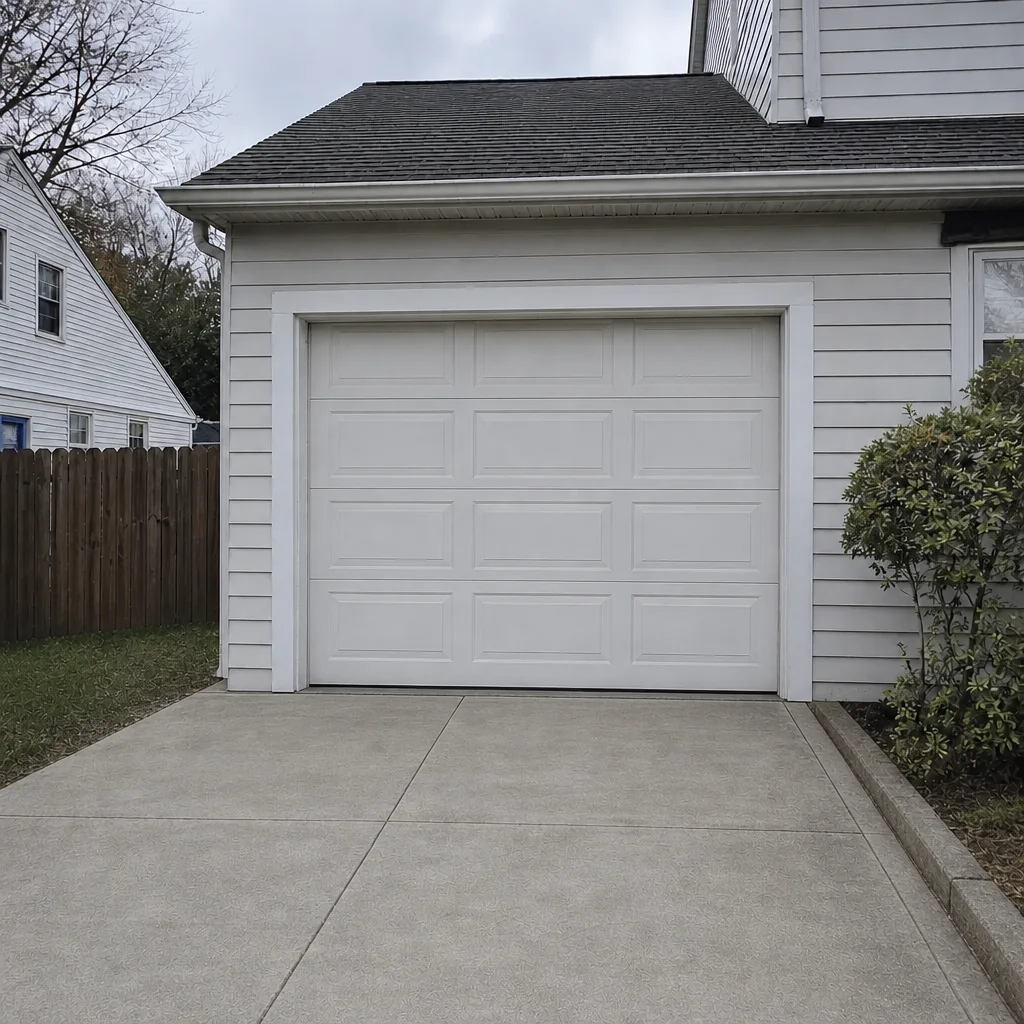 After
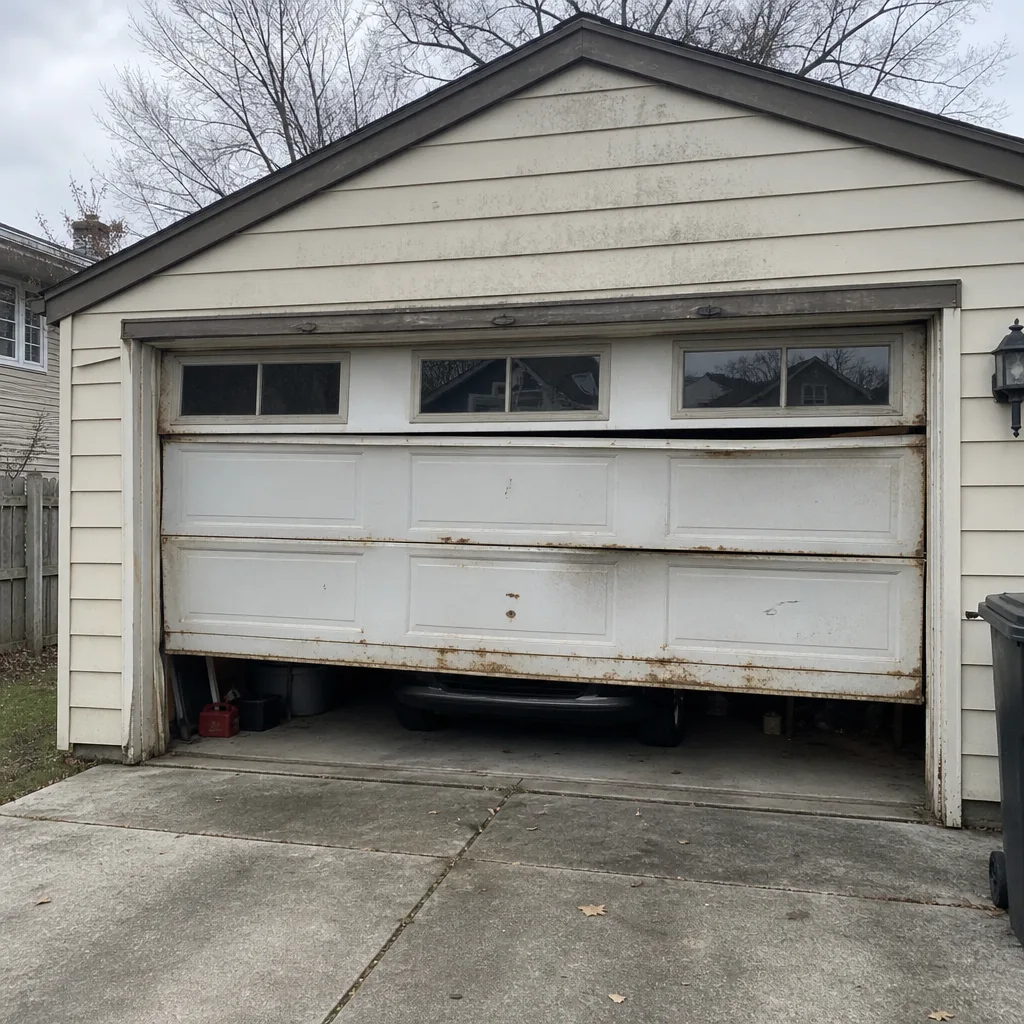 Before
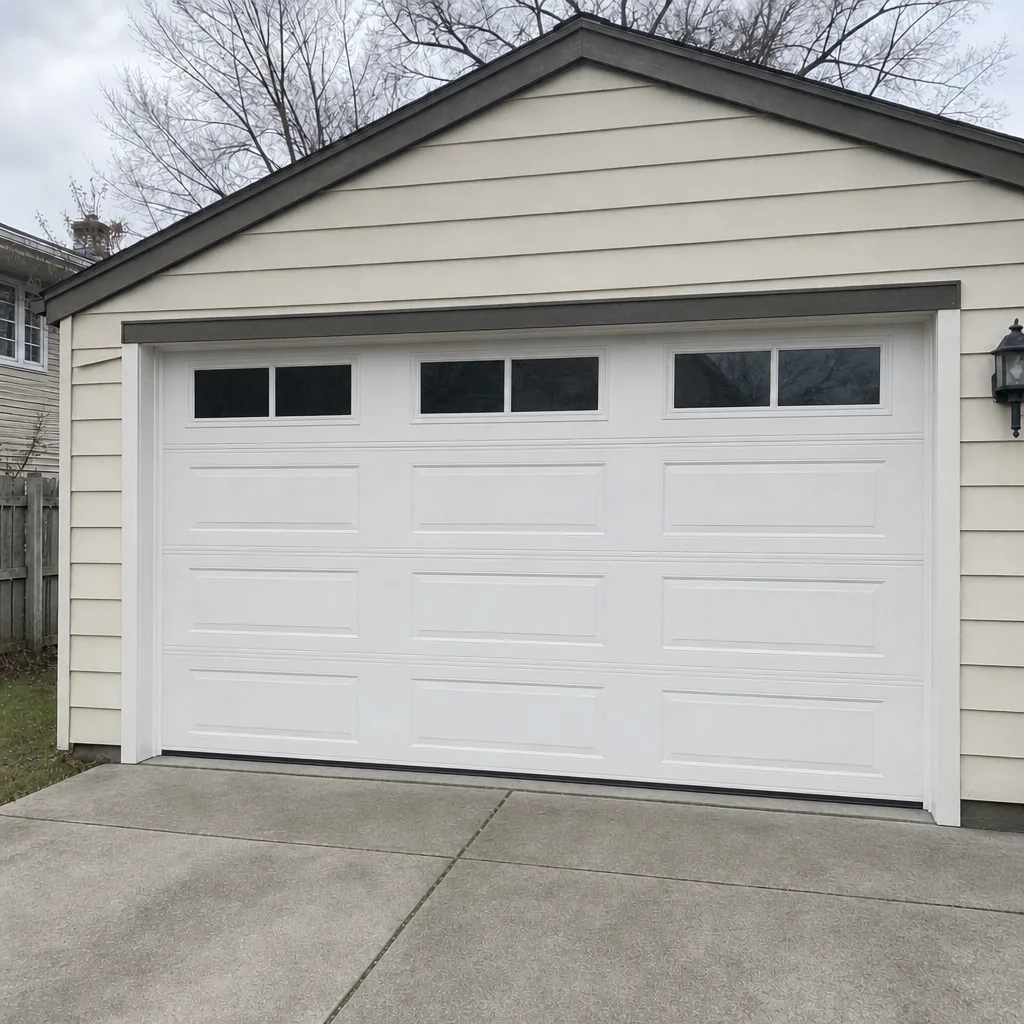 After
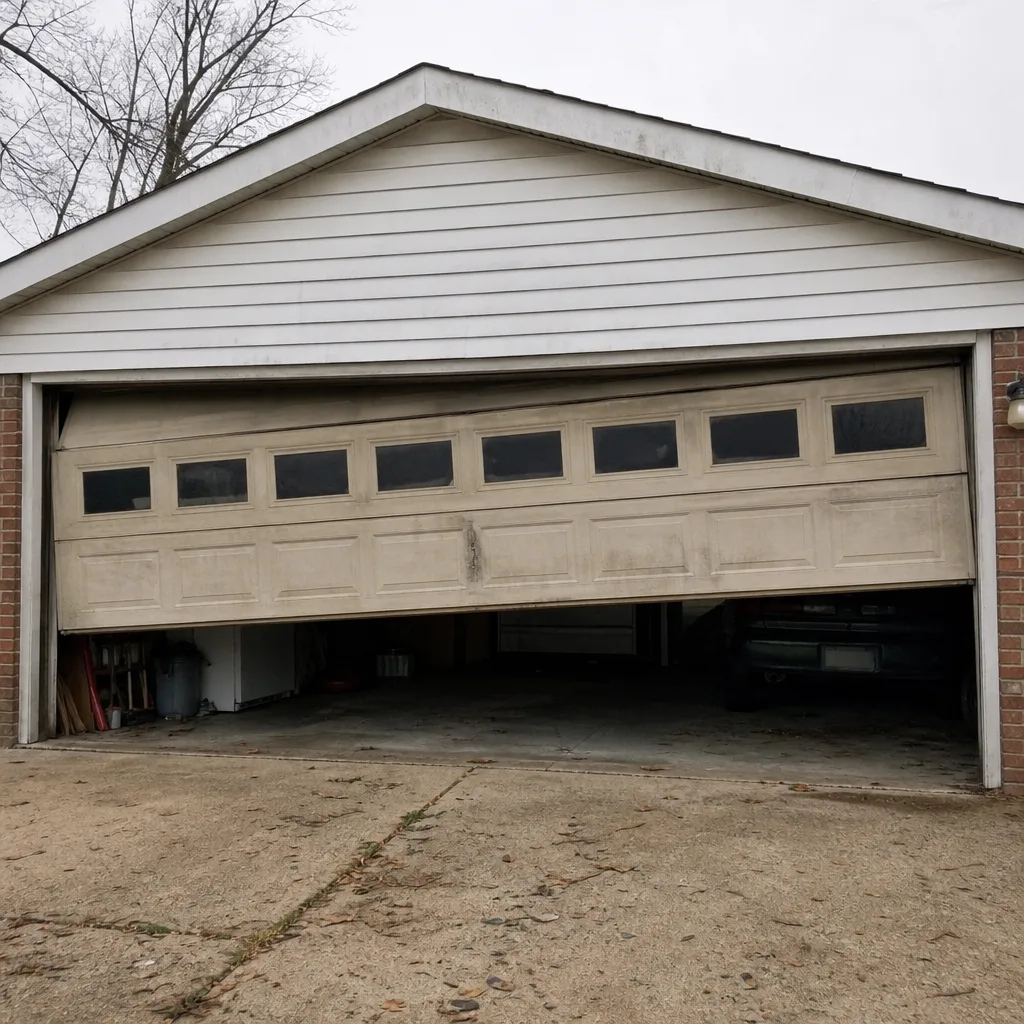 Before
 After
When to Call a Professional
Call a professional any time the job crosses the tension line above. A door that won’t open or close, a snapped spring, a frayed cable, an opener that runs but doesn’t lift, or a door that’s dropped on one side is professional work, not a weekend project. So is anything under an active manufacturer or installer warranty. Bayside Garage Door Repair Pros offers free estimates in Bayside; call (877) 757-2379 and we’ll walk through the job before you commit. If the door has stopped moving and access or security is compromised, we run emergency garage door service so you’re not stuck waiting on it. Same-day completion is usually possible on standard repair calls. Our technicians have up to 11 years of experience, working across Chamberlain and Genie openers and Clopay and Amarr doors. We’re a garage door specialist, not a general home repair outfit, so we can talk a torsion spring through with you on the phone and give you a straight answer about whether you need us at all.
Frequently Asked Questions
Yes, for lubrication, photo-eye alignment, remote and keypad programming, visual inspection and light track cleaning. Those tasks don’t involve releasing tension, and they’re the ones worth doing yourself. Spring, cable, drum, bottom bracket and opener-rail work is not safe to do yourself, regardless of how handy you are.
Torsion spring replacement typically runs $180-$340 for one spring, and a matched pair usually needs to be replaced together, so a pair typically costs about twice that. The written estimate sets the final price, so get it agreed before work starts. Call (877) 757-2379 for an exact quote; estimates are free.
No. Owning winding bars doesn’t make it safe. The risk isn’t access to the tool, it’s controlling the stored energy in a fully-wound spring, which releases in a fraction of a second and can cause serious injury. Spring work is the one job we recommend against anyone doing themselves, and that includes experienced DIYers.
Often yes, on the affected parts. Most manufacturer and installer warranties have a clause against unauthorized repair, and a failed repair attempt can void coverage on the whole assembly, not just the part you touched. Check your terms before you pick up a tool, and ask a pro to verify the spec against your warranty.
Two or more of the replacement signals usually point to a new door: multiple bent panels, a door that sags in the middle, repeated spring failures, rust through the metal, or cables failing twice. One isolated problem is usually a repair. A pro can look at the door and give you a straight answer in a short visit.
Usually yes, on standard repair calls. We run emergency garage door service for doors that have stopped working and compromised access or security. Call (877) 757-2379 and we’ll tell you what’s available, with a free estimate before we start.
Not if the diagnosis is accurate. We quote and agree the price before any work starts, and the written estimate is the number that sets the final price. If a diagnostic turns up something that changes the scope, we stop and talk it through with you before doing the work.
Yes. The local professional we connect you with is licensed and insured as their state requires, and our technicians have up to 11 years of experience. We work on Chamberlain and Genie openers and Clopay and Amarr doors by name because we’re familiar with them, not because we’re guessing.
The Bottom Line
The DIY vs. professional question for Bayside homeowners comes down to one line: stored energy. Anything that holds tension goes to a pro. Everything below that line is fair game, and you should do it yourself to keep the small stuff off the bill. Lubrication, sensor alignment, remote programming and visual inspection are within reach. Torsion springs, cables, drums and anything under load are professional work, no exceptions. Match the parts to the door, check your warranty before you touch anything, and clear the work area before the tech arrives. The math is simple: the safe repairs save money, and the unsafe ones cost more than they save, in parts, in coverage and in risk.
If you’re not sure which side of the line a job is on, call Bayside Garage Door Repair Pros at (877) 757-2379 for a free estimate. We’ll tell you straight whether it’s a DIY job or a call we should handle.
Written by the team at Bayside Garage Door Repair Pros.